With the table saw out of my kitchen and the messy construction wrapping up, I’m getting obnoxiously excited about finishing touches just around the corner. Allow me to have a total girly moment and let’s talk about PRETTY THINGS!
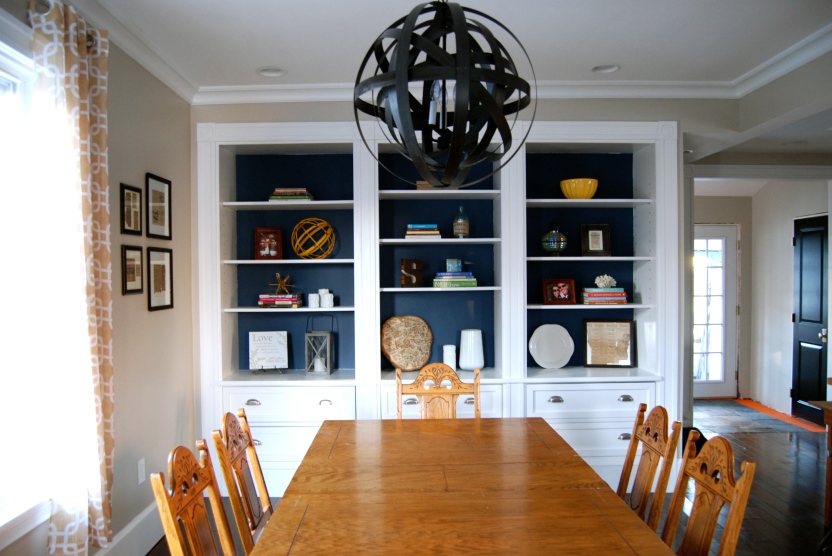
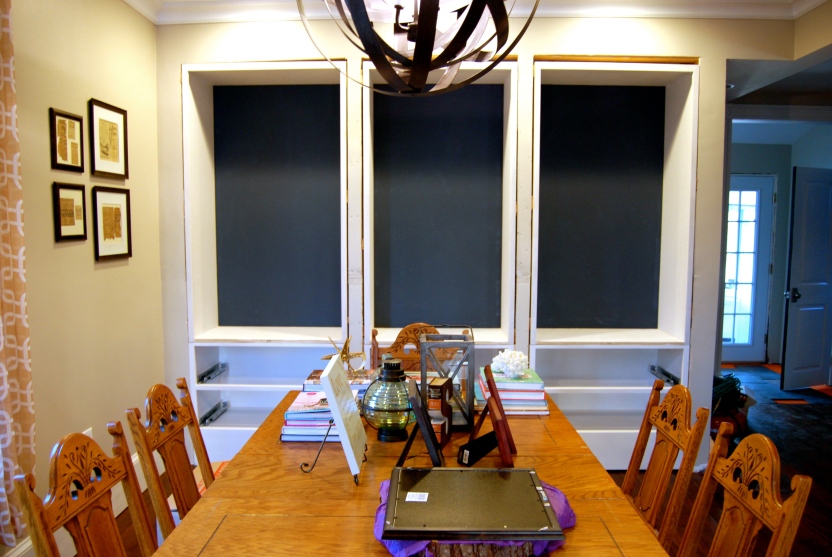
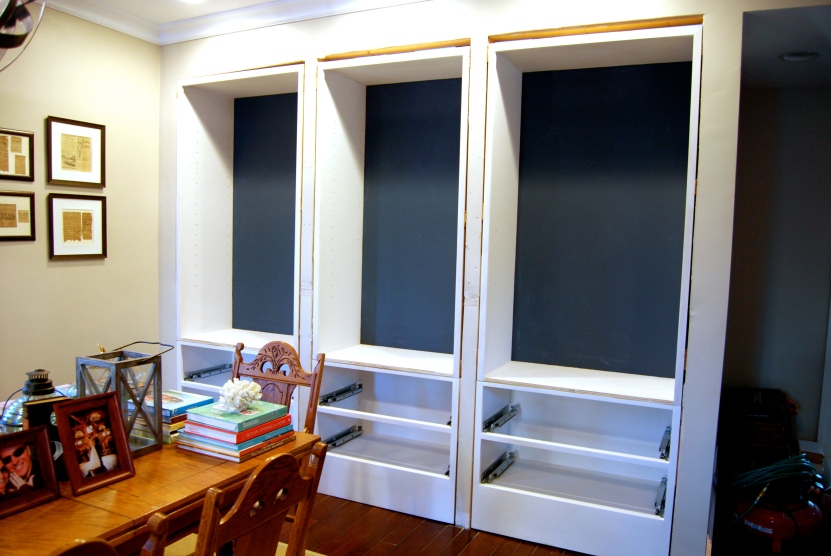
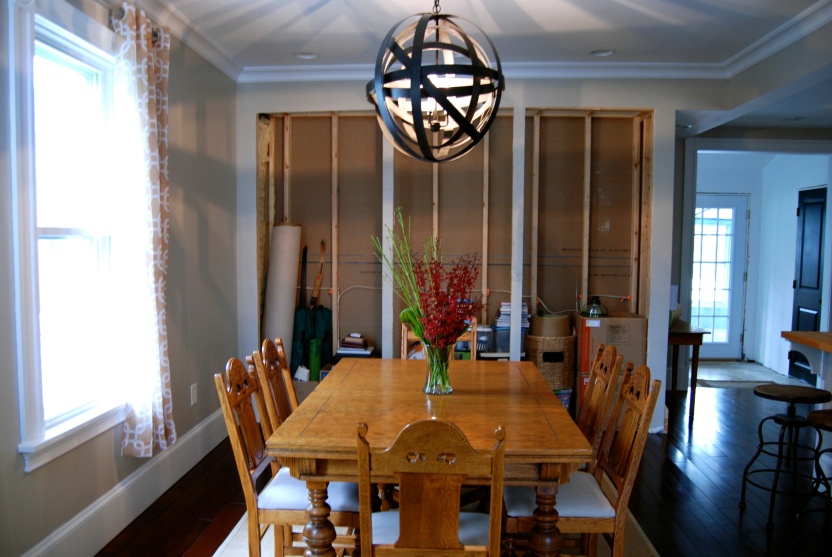
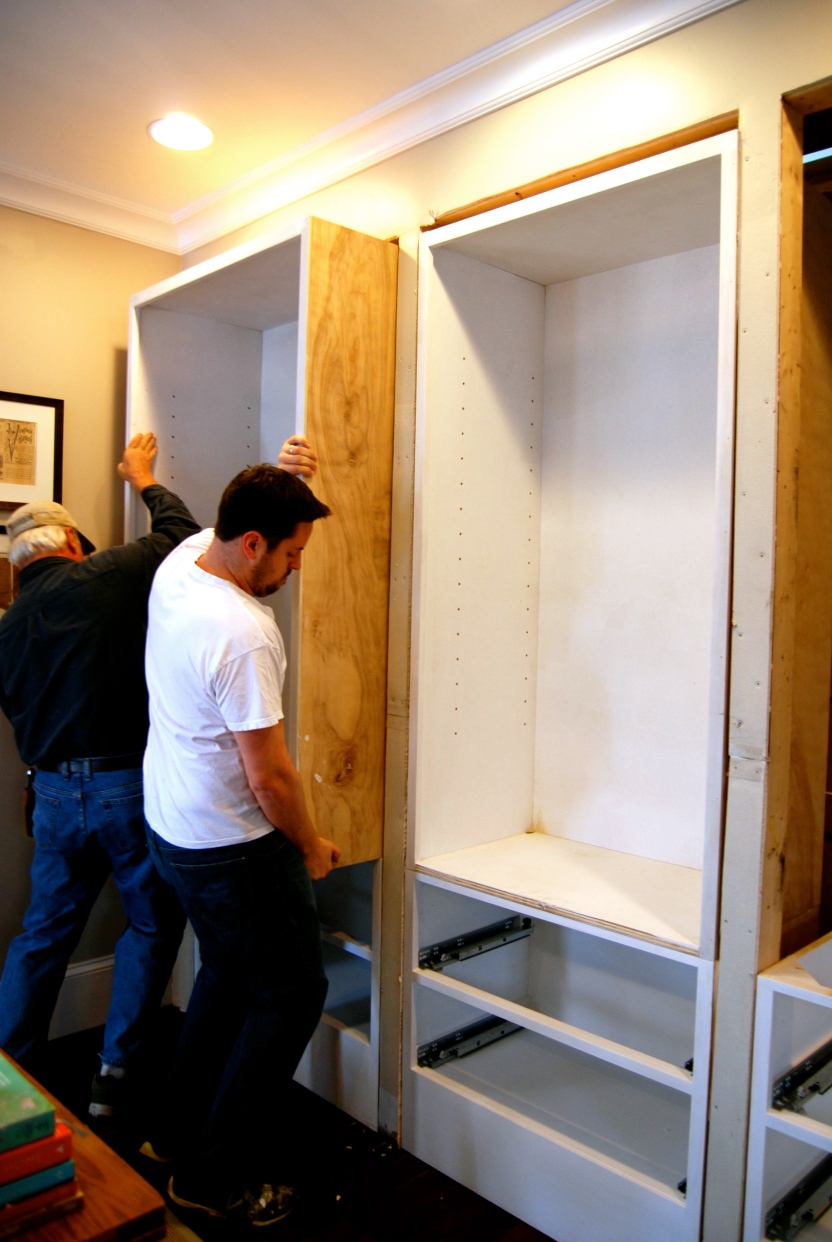
One of the pretty projects I’m most excited about is styling the built-ins in the dining room. Right now they look like this. Just three gaping holes in the wall.

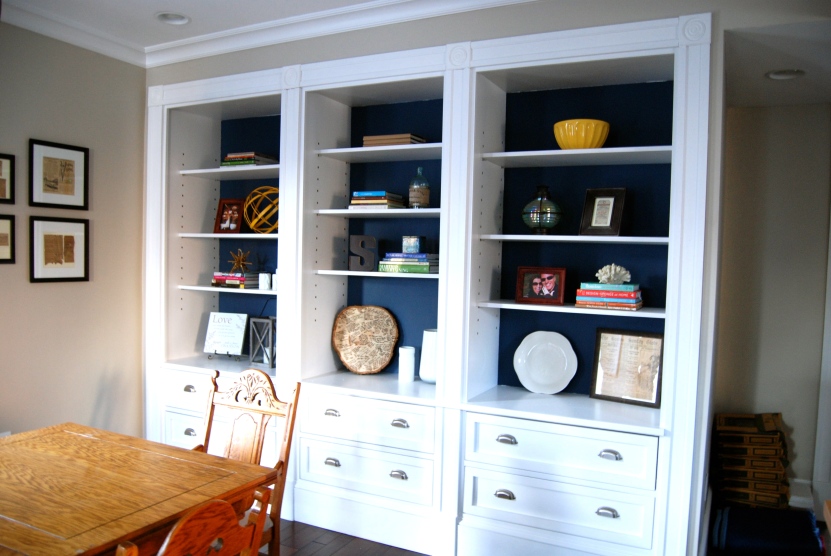
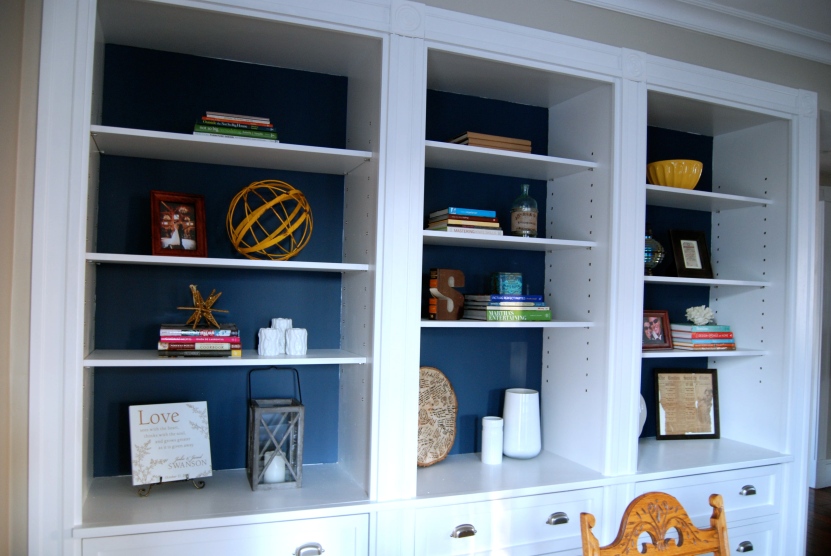
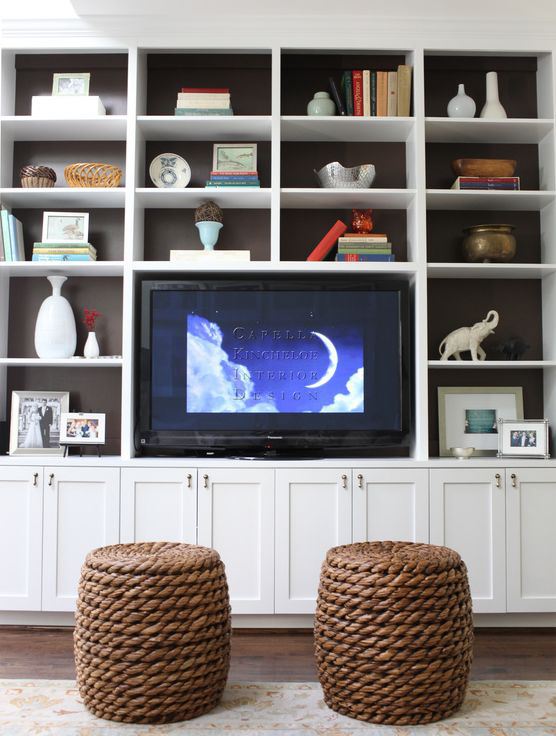
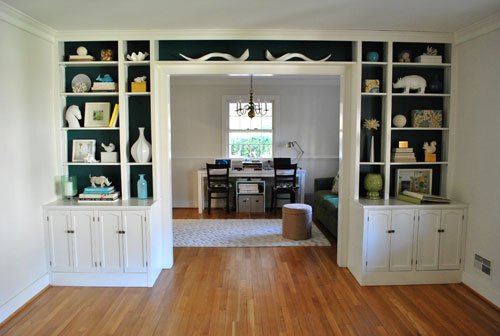
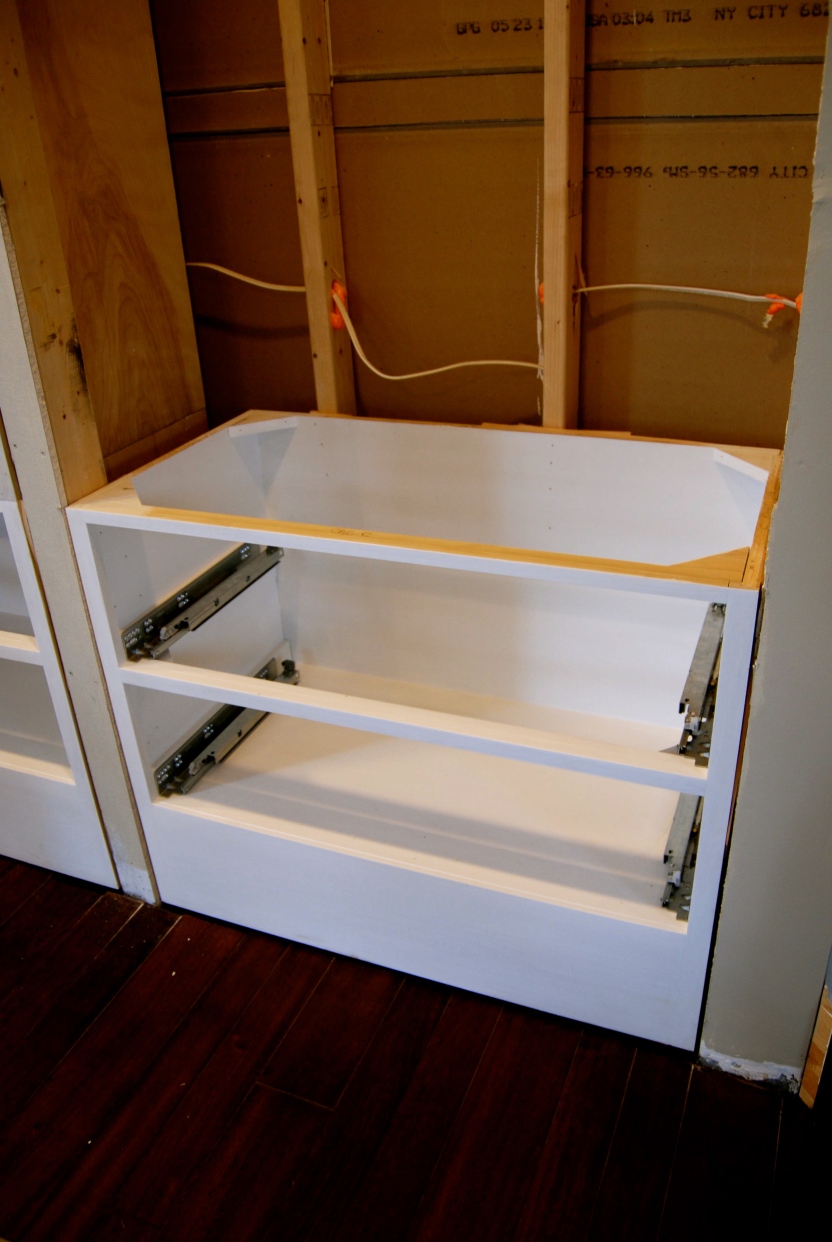
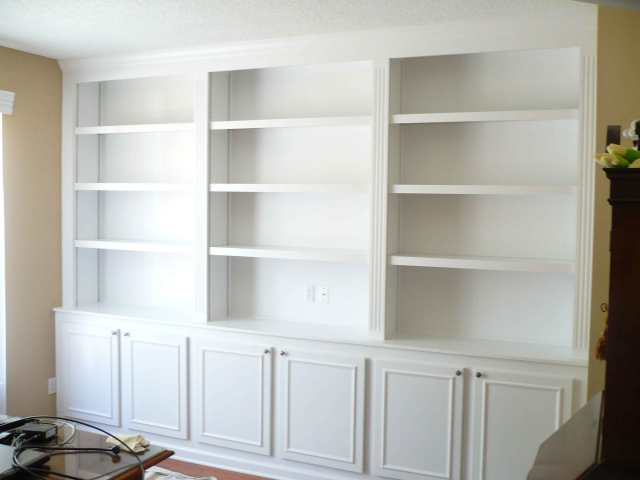
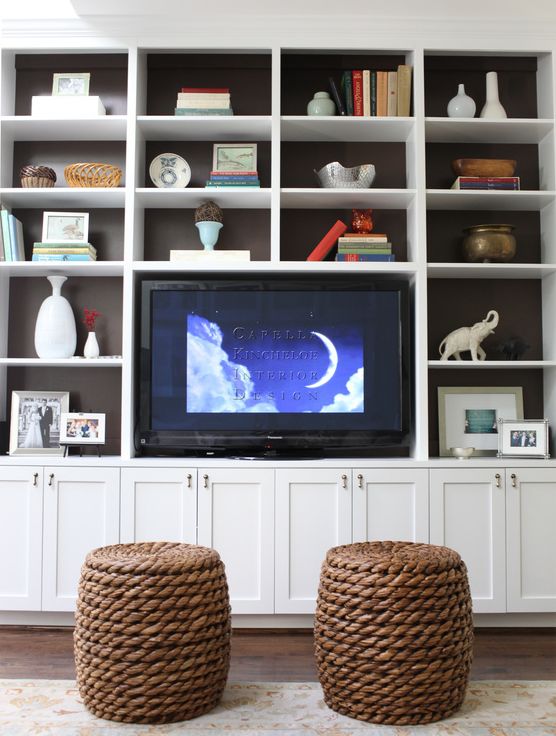
But with all of our beautiful design books along with some fun accessories and framed art, I’ll have these shelves styled up in no time. That is, after they are built. As for design, the shelves will look much like this photo below except with drawers rather than doors at the bottom.
There are tons of guides out there for styling bookcases and built-ins but one of my favorite blogs- the Glitter Guide- has assembled some of the key points.
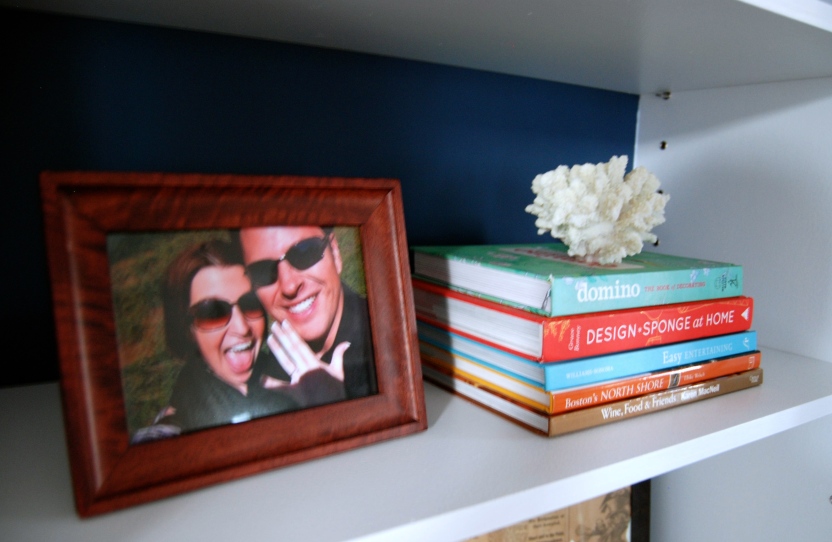
1. Group books by color or hue. It’s simply more pleasing to the eye. If your books happen to be all over the rainbow, try this trick you’ll see in Pottery Barn and Restoration Hardware catalogs- flip your books binding side in. It may be a little harder to find them but they sure do look purdy! And if that’s the case, you could group by subject and then you’ll just have to remove one stack to find the book you’re looking for. And besides, we’re talking about pretty shelves like for a dining or living room, not so much functional shelves for an office.
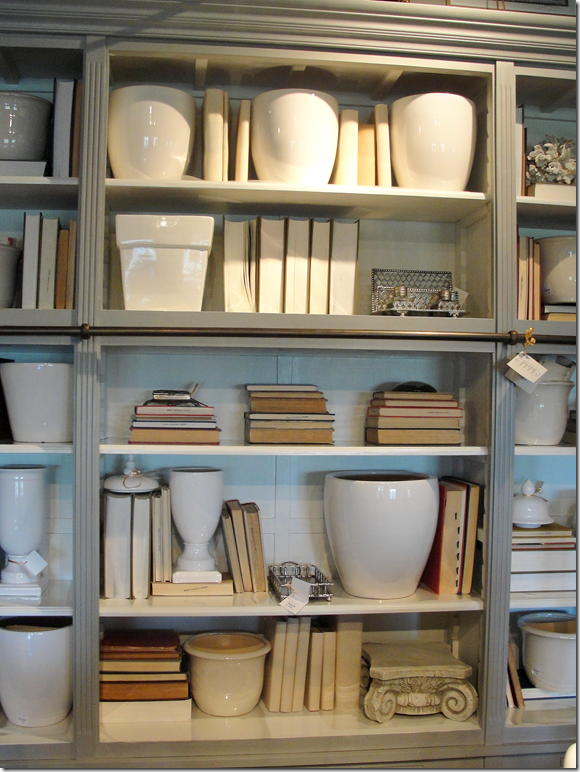
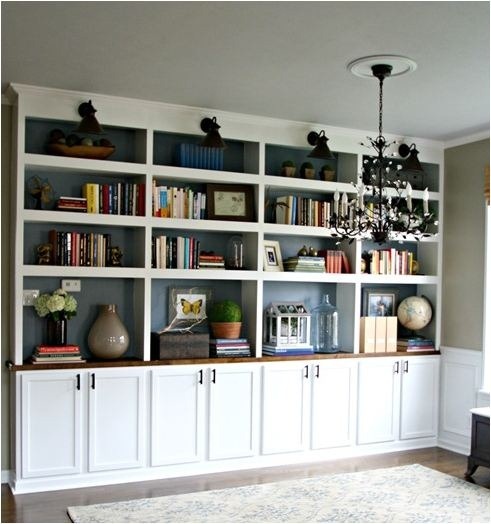
2. Paint or cover the back of your bookshelves with a contrasting color or texture. For our built-ins, we will be painting them white but the back of the shelves will be painted the same deep navy blue that we’ll use in the half bath. The color is Newburyport Blue by Benjamin Moore.
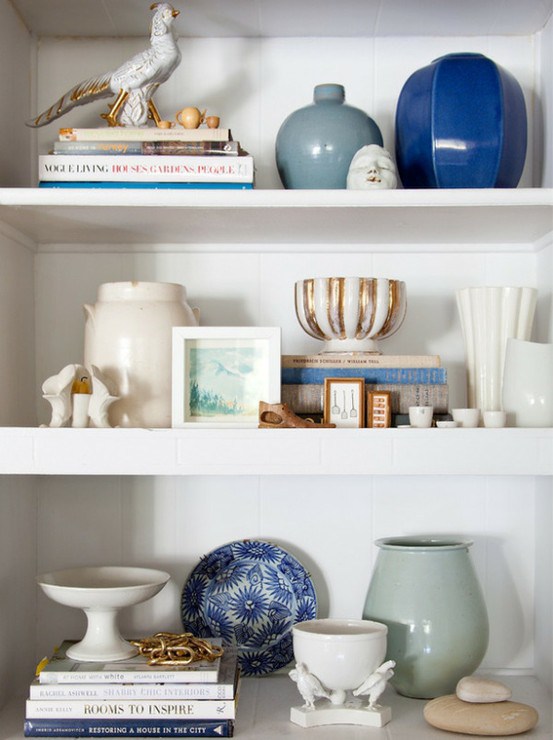
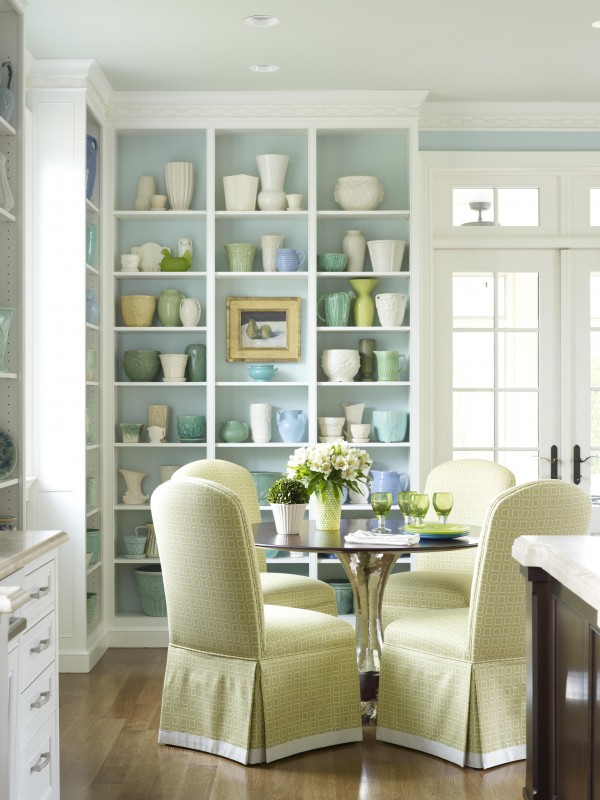
 3. Choose a style, theme, or color scheme and stick with it. I love these blue tones or the combo of ivories and pale greens and blues.
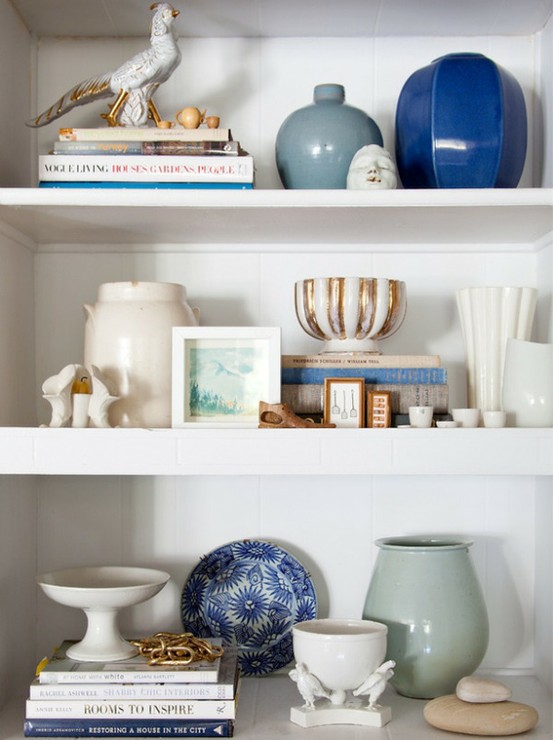
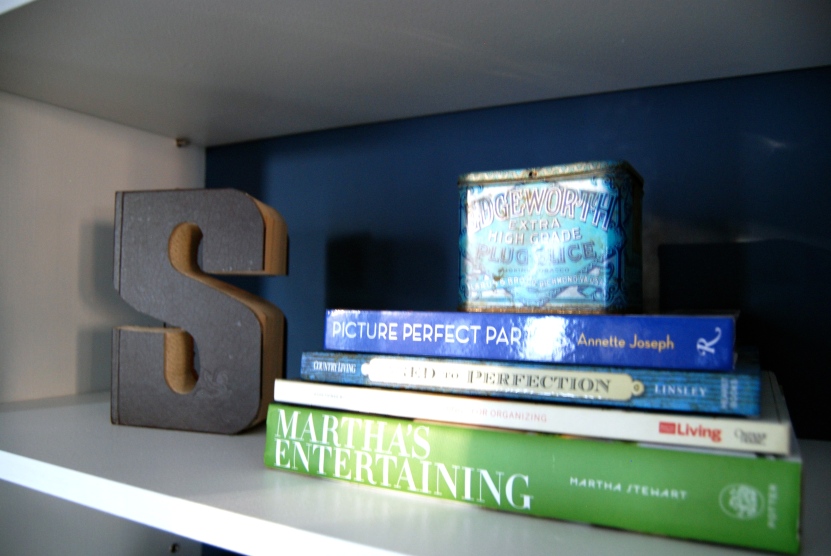
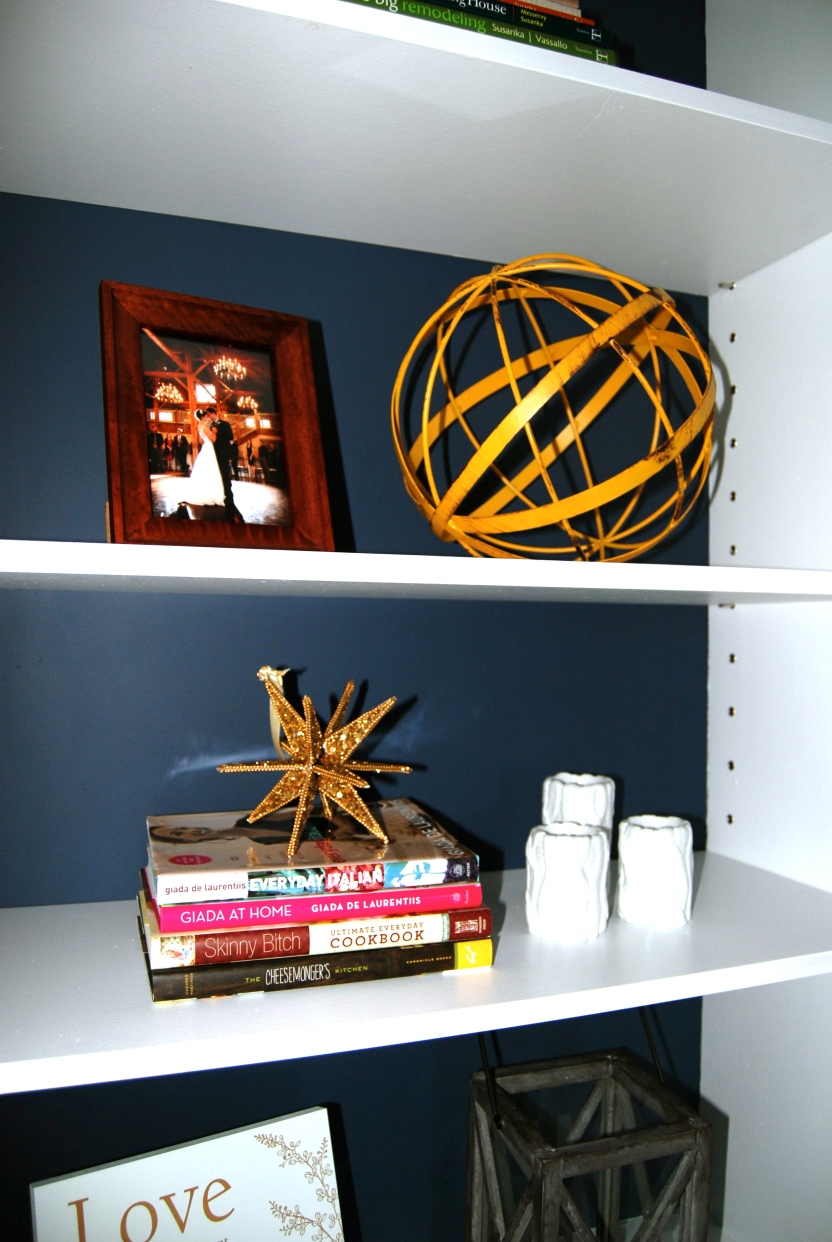
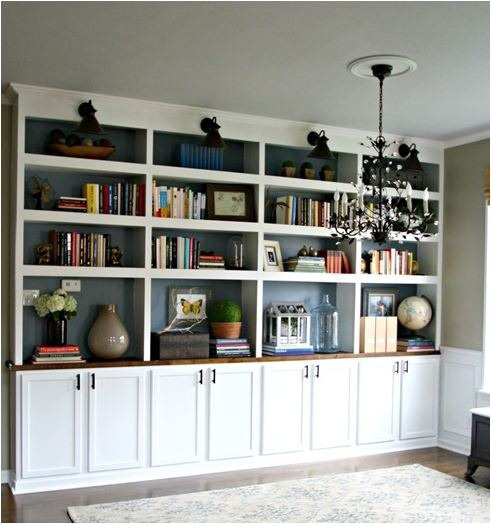
4. Create balance with books, large pottery pieces, and small accessories. Nothing is more boring than a packed shelf of books all in a row. Place your large items in first and compliment with smaller pieces. And just like everything in your house, don’t keep it unless you love it. Sherry over at Young House Love is famous for her collection of quirky ceramic animals. Check out their perfectly balanced built-ins and see of you can spot the rhino, bird, horse, squirrel, frog, and fish!

Like this:
Like Loading...