Updated House Tour

Last week we had a bit of a snow storm for the first two days of 2014. I took the snowed in opportunity to take down all the Christmas decorations and do a thorough house cleaning. After that, I was ready to put my new wide angle camera lens to work!

Click on the House Tour page above to check out some new photos! Here’s a bonus view not in the House Tour but one of my favorites…

DR4

DR1

About these ads

Half Bath Reveal

This post is a long time coming! And if any of you happened to visit our house tour page, you may have already gotten a sneak peek! Our half bath is a tiny little room at the back of our house off the mudroom and next to the kitchen. It was our only functioning toilet and sink during our renovation, which means it was absolutely disgusting towards the end there! But now…

11162221474_da96f6cfed_o

11162347723_0ee42155fe_o

Fresh as a daisy! We replaced the old wallpaper and chair rail with white wainscoting and that same beautiful navy blue paint we used for the back of the built ins. I removed that faux stained glass from the windows a long time ago but now in our new sleek bath, you can really see the impact. A tiny toilet topper was replaced with floating shelves to open up this super small room.

Half Bath

And most importantly, we saved space by shifting the placement of the sink and replacing both the sink and the toilet with sleeker versions. The toilet before was wide with a scalloped cover. We switched it out for the same toilet we used up in the master bath. And a pedestal sink makes much more sense in such a small space. A rustic light fixture and a round mirror finish off the space.

Half Bath 2Remember my inspiration photo from way back when?

Badrum, Pinterest 1_thumb[1]

11162346913_3b5c96828d_o

Not too shabby!

Frosty the Snowman!

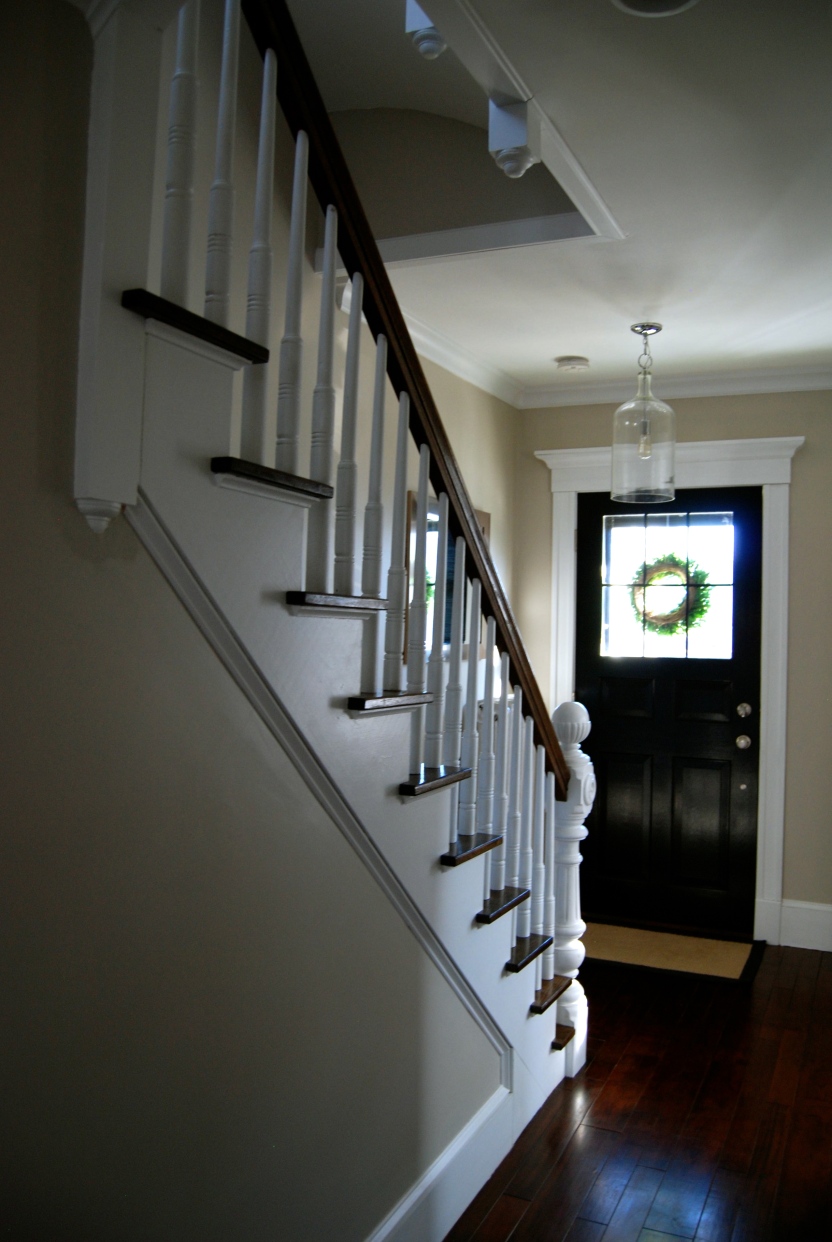
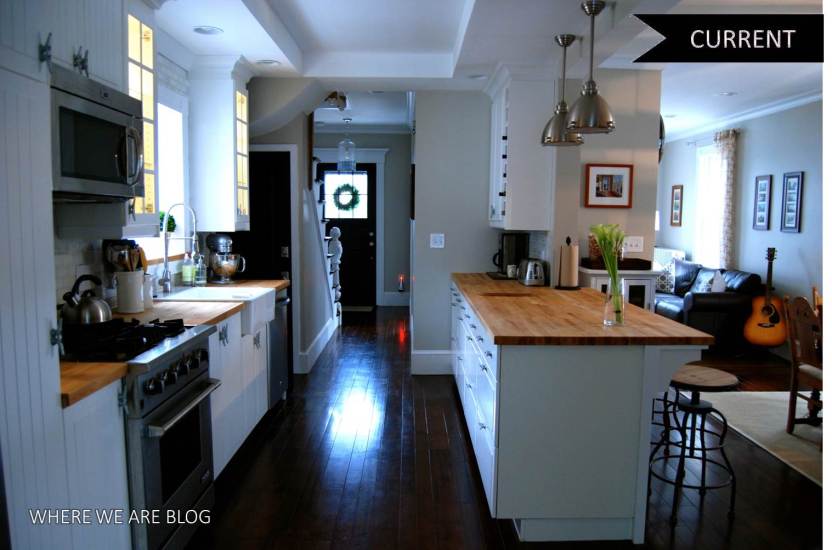
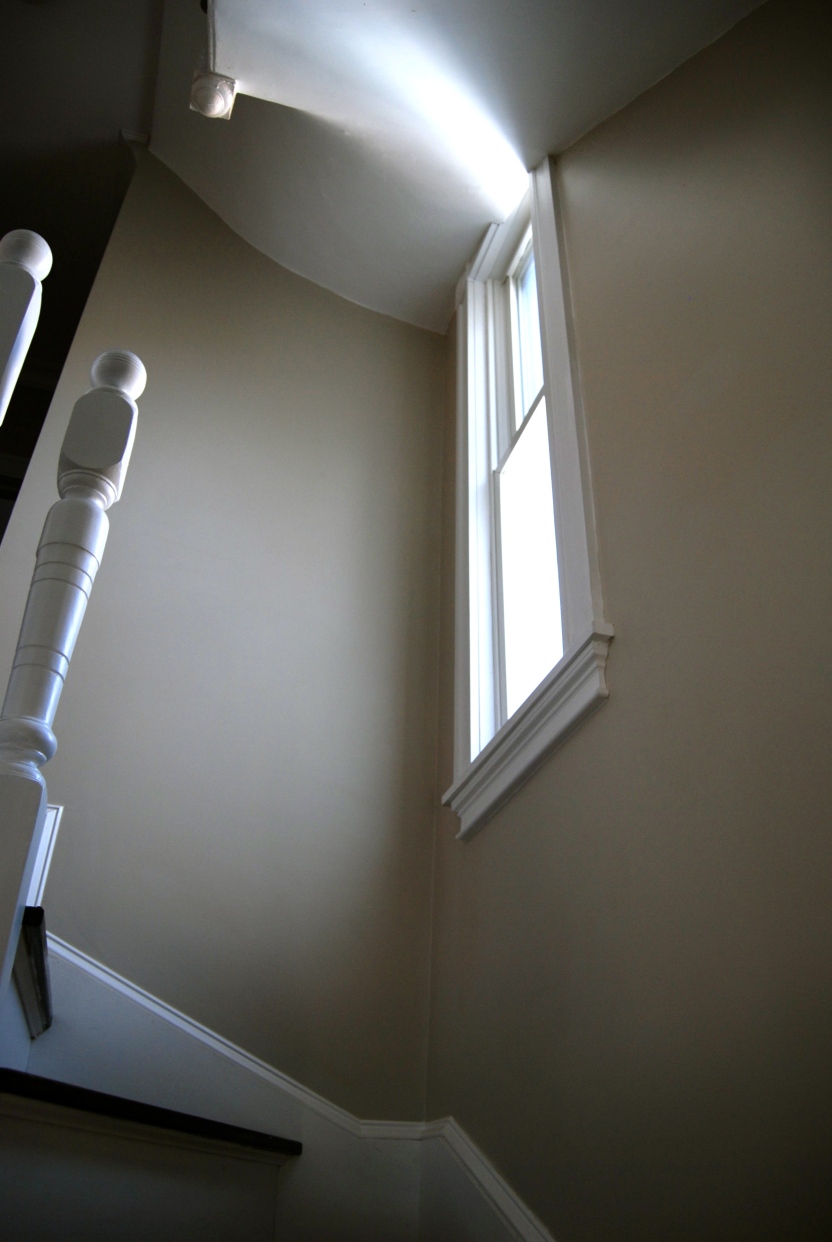
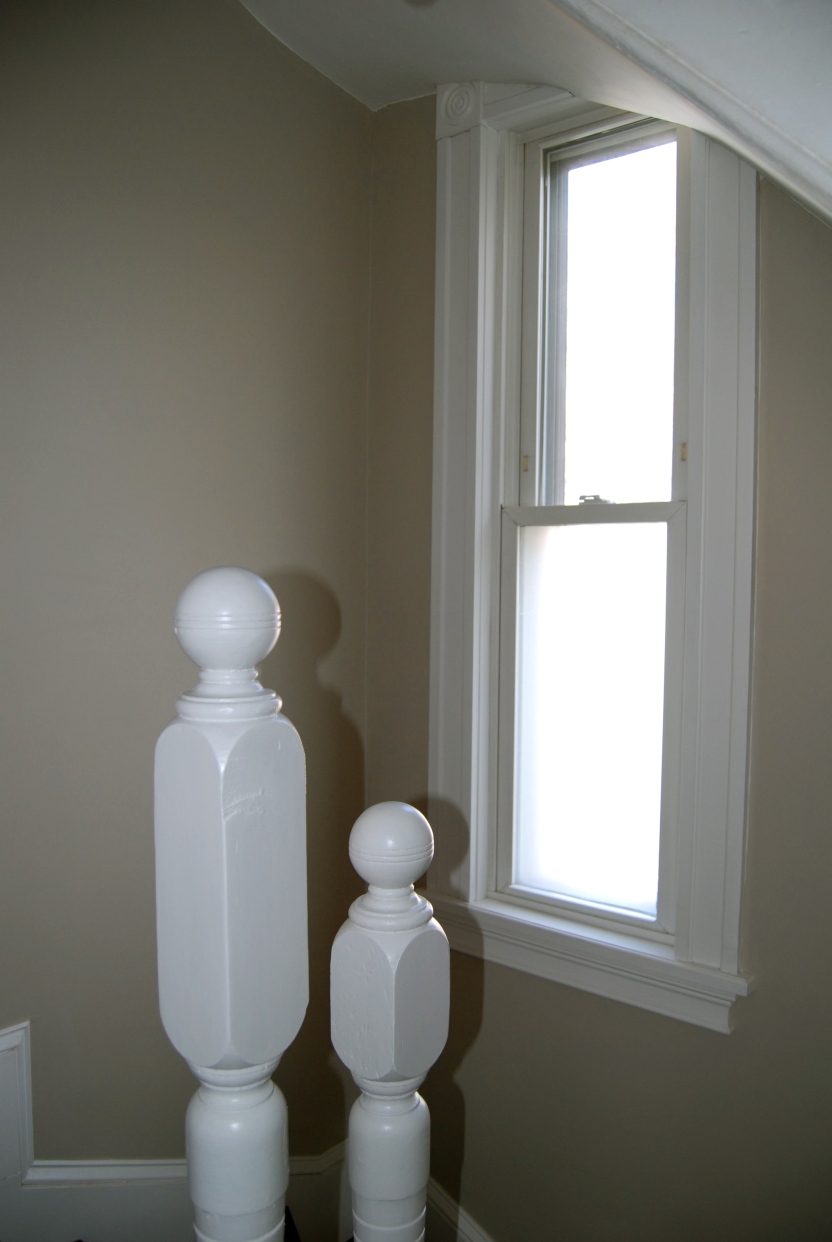
No that’s not Jack Frost on our window, that’s frosted glass film! Our skinny window at the top of our staircase provides great light but it also provides a great view of our neighbors second floor windows. It also happens to be on route from the bathroom to our bedroom so in order to provide some privacy, we decided to frost it.

DSC_0009

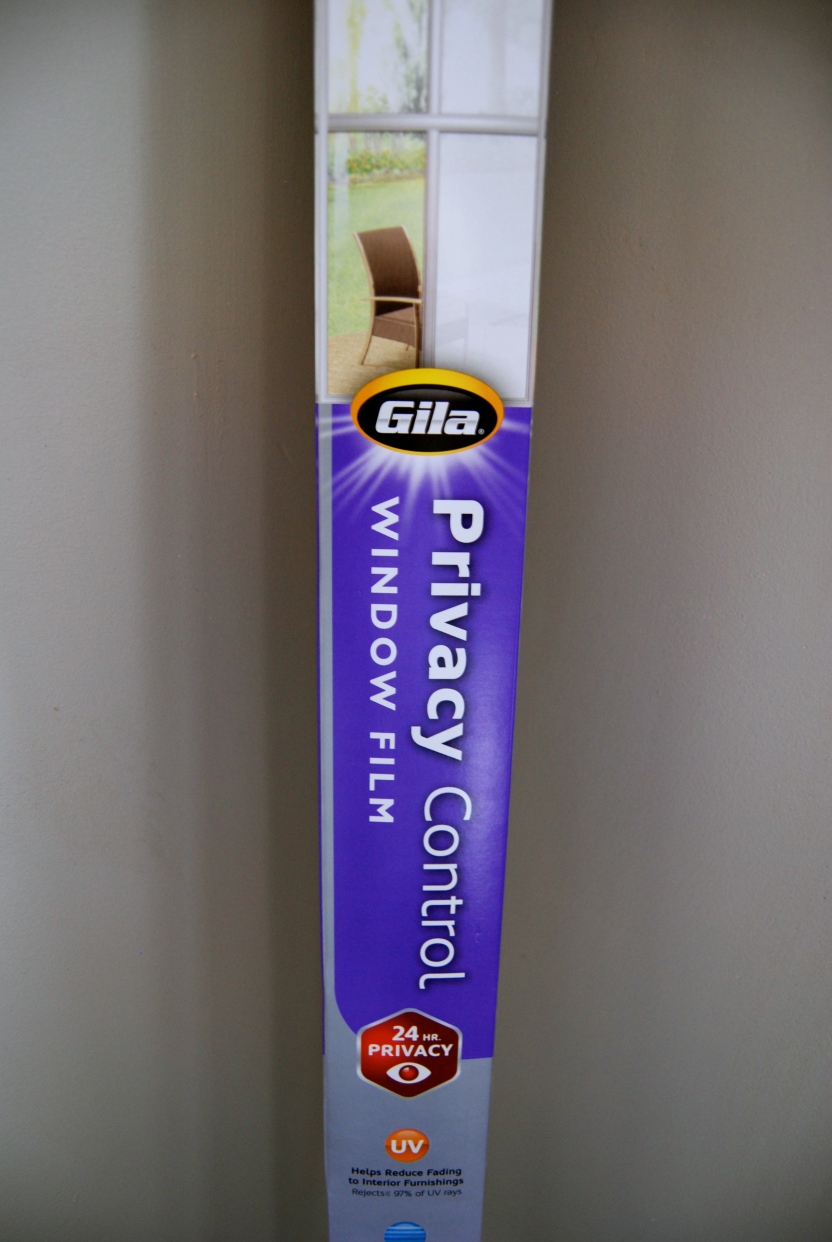
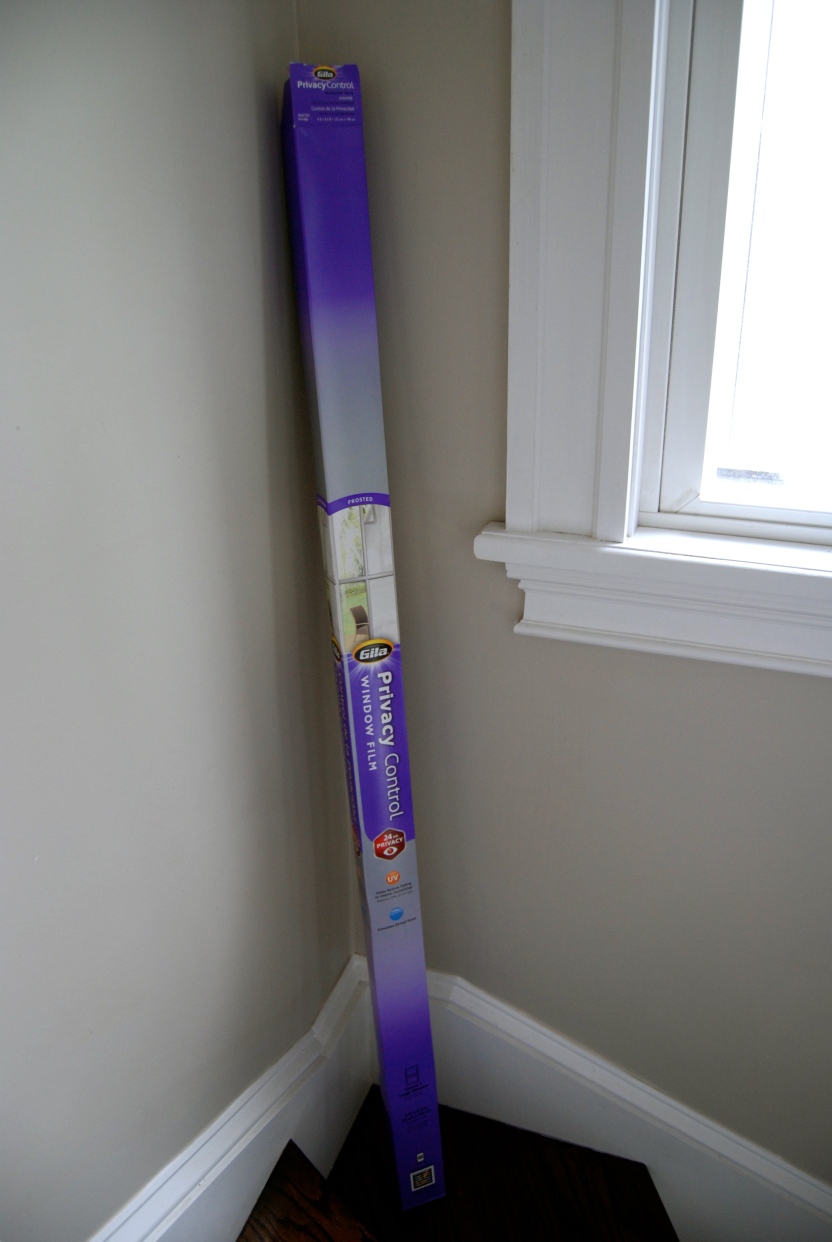
We used Gila Privacy Control Window Film. It comes in a variety of textures and colors in this long skinny roll.

DSC_0004

DSC_0003

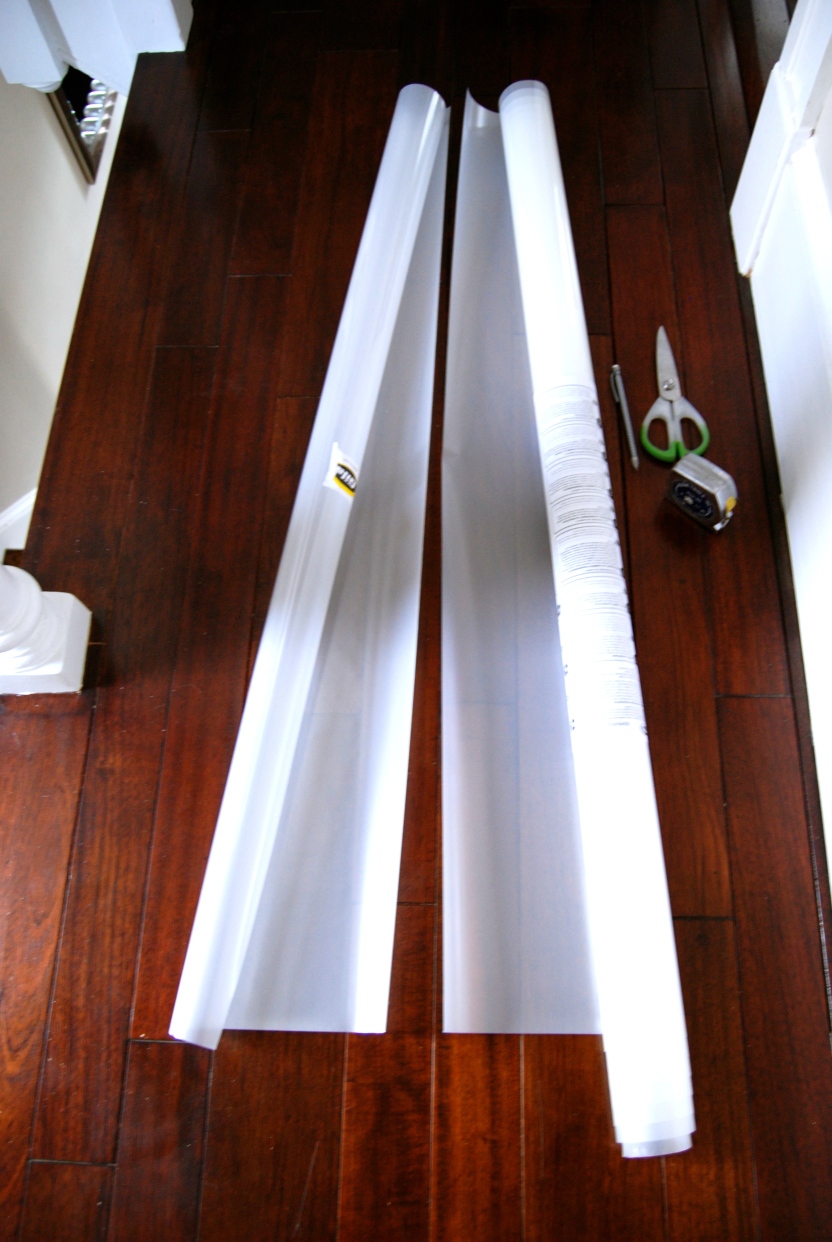
I just measured the window and cut out the correct size of my pane. Then you simply remove the clear layer from the frosted, spray with water, and apply to the window with a credit card or squeegee to remove any bubbles.

DSC_0005

The trick really is the wetness. On my first attempt I thought it would be wise to not wet it too much. Wouldn’t it lose it’s stickiness? So without much water, the film is VERY and I mean VERY sticky. And once it touches the glass, it will NOT budge. This made for several bubbles on my window. Not easy to tell from far away but up close it looks like raindrops on the window.

DSC_0008

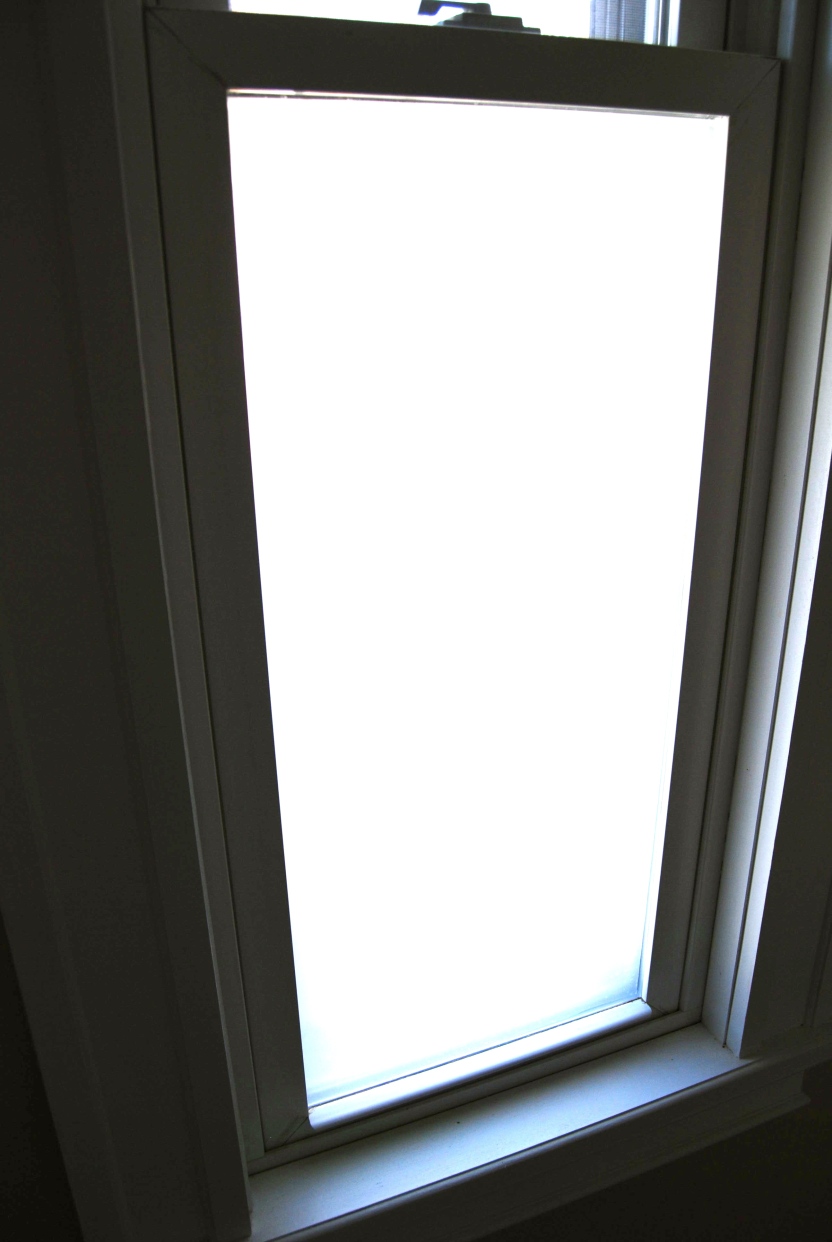
My second attempt (on the top half of the window) was much easier. I called on my assistant Jared for this one and honestly, it really is a two man job. I held the film, Jared removed the clear backing then sprayed the film LIBERALLY with water, and I applied to the window. This time, it was a breeze! The film was able to adhere to the window but still move around. I smoothed out all bubbles with a credit card and left it to dry. It’s absolutely perfect! We love the light it lets in but still giving us the privacy we need. Perfection!

DSC_0007

Staircase Reveal

It was a bit of a renovating mad dash at the end there before the housewarming party but we did manage to get the last couple projects done in the nick of time! Our staircase was one of those projects. We have been living without a banister for several months now. No big deal for us but with 9 foot ceilings, it is a major safety issue not to have a railing.

If you remember, we kept those beautiful newels in tact but we also wanted to save the original spindles. They were beaten up but still good. So a lot of paint stripper plus new white pearl finish took care of those. Then my Dad worked geometric magic to make a new oak banister stained the same Jacobean finish as the rest of our floors and stair treads.

11162198716_1036918435_o

11162351223_ccac5a14a4_o

We love them. We may not have as many family photos up as the previous owner but we intend to fill this home with just as much love.

Stairs

Updated House Tour

I’ve updated our house tour’s “current” photos. Click on the HOUSE TOUR page in the black bar above to view the renovated rooms. The mudroom, half bath, porch, and second floor bedroom are still works in progress but stay tuned for the half bath reveal in the near future!

Though the most dramatic before and after is probably the shot into the kitchen from the dining room since their was nothing but a big pink wallpapered wall there before. But my absolute favorite view of our house is still this one from the back door. It’s just all of our hard work, a whole summer of sweat and tears and maybe a little blood- and it’s almost all within view when standing at the back door.

Kitchen 3

Kitchen 1 Current

The Big Reveal… Built Ins!

I hope when you read this you imagine confetti going off and load music pulsing and t-shirt guns firing “Custom Cabinetry Rocks!” t-shirts at you and a big spotlight pointed at our dining room with a large black sheet covering it…

ARE YOU READY FOR BUILT IIIIINNNNS?

10669438964_84ecd2a3ec_o

I can’t tell you how exciting it was to finally get to display all our books and collectibles that I’ve been scavenging for the last few years. Antiques, fun finds, beautiful books…

10669628493_b0fec61b02_o

10669627003_c48103a543_o

Photos of Jared and me…

10669445886_4753517bca_o

The log slice that acted as our wedding guest book for friends and family to “log in”…

10669630883_c362dc0aea_o

We love our home and all the work we’ve done but somehow that gaping hole in the dining room really drove us nuts. Thanks (again!) to Dad for working so hard on these lovely lovely built ins. They add so much to the house and make us smile every day.

10669359045_a3dd5f836f_o

10669640973_bd17b2eb24_o

Trimming Down

Or should it be ‘Trimming Up’? Nonetheless, there’s trim on our built ins. Starting to look more and more built in, wouldn’t you say?

DSC_0002

These rosettes were a huge selling point for us on this house. Such character. The original ones are still trimming the windows on the second floor but these are brand new. Even the belly casing has been made to look like the original though.

DSC_0005

DSC_0007

During the whole renovation, our goal has been to preserve the character and the history of the home but update it for functionality and beauty. These built ins are a microcosm of the entire renovation. A nod to the past with the freshness of the future. And this is only phase three!

DSC_0004

Singing the Newburyport Blues

Ready for phase two of the built ins? Blue! Not just any blue. Benjamin Moore’s Newburyport Blue and just on the back. The rest will be painted the same pearl finish white as the rest of our trim.

It’s the same blue we are using in the half bath and we are so in love with it. It’s such a beautiful matte navy blue. Almost looks like chalkboard paint. It’s gorgeous and adds so much depth to the built ins.

DSC_0008

Stay tuned tomorrow for phase three!

DSC_0007

The Week of the Built Ins

We’ve been waiting for this moment a long time now… it’s the week of the built ins! Hold for applause… OK, so yes, it’s very exciting. These built ins in our dining room are a huge feature of the house. I’ve been talking about them for a while and dreaming of them for even longer (yes, I dream of custom cabinetry).

Remember the gaping hole?

DSC_0008 (1)

Well last weekend, Dad brought over the three base units that will house a total of six deep drawers.

DSC_0002

And then this weekend came the top units that will have three to four shelves in each. In they came, three giant boxes at a time.

DSC_0003

DSC_0004

I should mention now that we are just so incredibly lucky to have my Dad helping us. Not only through this entire renovation, but especially at this stage of the game. Dad is an exceptionally talented carpenter but in particular when it comes to these finishing details. These built ins will be so well made and look original to the house with gorgeous trim and those rosettes found throughout the house at the top. It’s a crucial part of the entire renovation.

I know how hard Dad has worked on these and we so so so appreciate all his efforts. This truly is ‘The House that Rene Built.’ Thank you Dad.

Colds & Curb Appeal

Like clockwork, every year I seem to get a cold in the fall. So I apologize but my posts this week will probably be a bit intermittent.

But today, I wanted to share some great updates to our home’s exterior.

DSC_0050

Try to ignore our deteriorating front steps but we’ve decided not to do any “touch ups” on those and simply wait until next year when we can overhaul the whole thing. What we have done is…

An adorable envelope mailbox.

DSC_0047

New house numbers.

DSC_0044

A welcoming mat.

DSC_0049

Solar generated LED lights on the front steps.

DSC_0045

And a monogrammed door knocker.

DSC_0038

It’s not big changes but it’s just part of making this home ours and reflecting our style. It certainly helps that yesterday was such a gorgeous fall day. Check out that bright beautiful orange tree! Fall at it’s finest!

DSC_0052