Big Blue Delivery

No not from IKEA. But a big delivery of blue board! It’s not often we get a package delivered via crane but last Friday, that’s just what happened at 6:30 in the morning.

First of all, let’s back up and talk about blue board. Unlike drywall, blue board quite literately has a blue hue derived from the specialty paper on its surface. The paper is treated to bond to a coat of plaster. Ehow.com describes the benefits:

“With blue board, an application of tape and plaster treatment is applied to the joints, and then two thin coats of plaster are applied to the surface of the blue board. With drywall, numerous coats of joint compound along the seams in the middle of the boards is applied… [Blue board] works well in bathrooms or places with a lot of moisture. Once the plaster dries, the plaster creates a waterproof seal in the middle of the blue board and interior space. Additionally, this type of board helps reduce noise and offers low emissions.”

So here’s our big blue delivery…

Truck Truck 1 Truck 2

And we were left with over 100 boards stacked in various rooms.

Boards

Didn’t take long to get to work! The boys even let me hoist a board to the ceiling. Check me out…

Julie

About these ads

Status Update

It’s been a while since some overall before and after photos so here we go! I’m going to group them by angle and show you before, first day of demo, and today. Here goes…

View from the Living Room looking into Dining Room2013-04-15 14.51.23photo (3)IMG_0846

View in the Living Room looking into the front entry way2013-04-15 14.51.33photo (2)

IMG_0847

View in the Dining Room looking into the Living Room2013-04-15 14.52.35photo (7)IMG_0848

View in the Dining Room looking into the Kitchen2013-04-15 14.52.16photo (6)

IMG_0849

View from Dining Room looking into the Kitchen to the right

2013-04-15 14.52.51photo (5)IMG_0850

View from Dining Room looking into the Kitchen to the right2013-04-15 14.52.56photo (4)IMG_0852

View from back door looking into the Kitchen and Front Door2013-04-15 14.53.53photo

IMG_0853View in Master Bathroom looking toward back right corner

8680360599_a3447cc4f3_oIMG_0854

View in Master Bathroom facing toilet nook

8681470282_3fc355a047_o

IMG_0856

And this is my favorite part. All my little floor plans are hanging around the house with “Julie Approved” written on them. Love it!

IMG_0858

Back to IKEA

We’ve made two edits to our kitchen plan in the past few days. The first is good news and the second is bad news… but not really.

First, because we need to support the wall between the kitchen and dining rooms, we’ll need to cheat the wall further back than I intended. This just means that there will be some extra space directly across from the refrigerator that will be kitchen space rather than mudroom space. We decided to create a large cabinet to house the trash, recycling, and cleaning products. I want it to go with the rest of the kitchen cabinetry so I’ve found some options at IKEA. I’m thinking either a large wardrobe cabinet or we add two more base cabinets with pull out function for trash and recycling and add shelves above for a kitchen command center or drop zone for keys and mail when we come in the backdoor.

command-1-300x232 drop zone IKEA Cabinet Open

Then the second edit to the kitchen is purely for budget reasons. Our lovely granite countertops with the look of marble will be swapped out for butcher block. I know a lot of people don’t like butcher block but I actually love the look. And in fact, it was my original intention for my dream kitchen and it was Jared that talked me into granite. Here’s some inspiration pictures to prove this will not be your mother’s butcher block!

A

A1

A2

Blinding Me with Science!

Hope everyone got that Thomas Dolby reference and it’s now stuck in your head. “She blinded me with science! And hit me with technology!”

Moving on- we’re draining the pool. How does one drain a swimming pool exactly? I had no idea other than to open the floodgates and probably piss our new neighbors off and flood our own basement. But leave it to my Dad to know exactly how to do it- with science!

I believe that if my Dad were not a master carpenter, he would be a high school science teacher. The man knows all kinds of crazy stuff about physics and astronomy. It’s like living with the cast of the Big Bang Theory!

So just how do you drain a pool using science? You create a siphon with a garden hose. For this to work, the water source (the pool) must be higher than the spot where the water will pour out (the drain on the street). The water hose has to be primed, then gravity takes care of the rest. Just make sure the hose is submerged in your water source at all times. If the water level falls below the end of the hose, you have to restart the siphoning process.

Here’s a step by step breakdown courtesy of eHow.com.

  1. Fill the hose completely with water. Keep the ends of the hose upward to prevent the water from draining back out.
  2. Place one hand over each end of the hose and turn it upside down. Place one end of the hose into the contained area you want to drain.
  3. Aim the other end of the hose to your draining location. This may be a bucket, floor drain or other acceptable destination.
  4. Remove your hands from both ends of the hose at the same time. Water should begin flowing out of the end of the hose that is not submerged.

2013-04-15 14.49.34

2013-04-20 11.51.25

There’s Good News, And Then…

So just when all the walls are opened up and everything is going smoothly… we learn we’ll have to do the upstairs bathroom NOW. While the ceiling is opened in the kitchen, the pipes for the bathroom are directly above it.

Remember that full bath upstairs that we were going to wait a year on? That giant eyesore that we were going to live with for a while because we’re already spending all our money remodeling the entire first floor? That second most expensive room in a house to remodel after the kitchen? Yeah… that room.

Last I checked, this house didn’t come with a money tree in the backyard. I could check again but I think I’m right.

If we had all the money and time in the world we would obviously want to redo this 1960s bath/laundry room. We knew that maybe in a year or two we would change the layout and replace the outdated decor with some new fixtures. But that plan just moved up to NOW.

So if we must we must. We’ll give the plumber our new layout for the bath. He’ll move all the pipes to the appropriate places. We’ll slide all the fixtures around the room accordingly. And then we’ll probably live just like that for a while- no tile or flooring or walls but a functional bath with everything where we want it.

But that’s no fun to think about! So let’s focus on what it could look like when we do finally make it pretty!

I love these soothing tans and ivories with the dark wood vanities.

Picture2

Picture 3But (surprise, surprise) I also love the rustic look of these weathered vanities.

Picture1Picture 4Maybe I could compromise masculine dark wood with rustic weathered like this.

Picture 5And finally, I love the large floor tiles in the photo on the left and the mesh door on the stackable laundry unit on the right. A tall cabinet next to the laundry is a must for hamper and detergent as well!

Picture 6

Have Hammer, Will Demo

Jared sent me some photos from the first day of demo. I was still at work so I showed my team. There were a lot of “wows” and one “you guys have some large cojones!”

I guess it does take guts to buy a home and then rip it to shreds. But without your own stamp, how does a house feel like your home? I promise you, we’re not pulling a Beetlejuice here and turning a lovely old farmhouse into a concrete mansion. It’s all about maintaining the true integrity of the home while making it our own.

Now- are you ready for this?!

Living Room Before

2013-04-15 14.51.23

2013-04-15 14.51.33Living Room After

photo (3)

photo (2)Dining Room Before

2013-04-15 14.52.35

2013-04-15 14.52.16Dining Room After

photo (7)

photo (6)Kitchen Before

2013-04-15 14.52.512013-04-15 14.52.562013-04-15 14.53.53Kitchen After

photo (5)photo (4)photoAnd one random old compass in the wall.

IMG_20130416_105431

Chateau de Bris

We wasted no time getting to the bottom of a couple unknowns. Within five minutes of the previous owner pulling away from our house and Jared and I finally left to our own devices- we tore some stuff up!

First to the master bedroom closet. Prying up some linoleum, we discovered the floor lined with the New York Times from 1958. You think we could take the NYT up on their advertisement for 7 days in Miami for $113?

photo (2)And under it was…

photo (3)Hardwood! Woo hoo! Those will sand up nice! Definite rustic look but… hellooooo! That’s what we want! If only we knew what was under the carpeting all over the first floor…

photo (1)Bam! And to quote my favorite DIYer Nicole Curtis from Rehab Addict, “why in the hell would you cover that up?!”

Wallpaper came off walls in the bedroom like a bandaid only less painful.

photoAnd then then the big guns showed up. With Dad came tools and then the dust really started to fly.

2013-04-15 15.04.18 (1) 2013-04-15 15.04.59Chimney chase revealed! No more 45 degree angle walls. We’ll frame this off and gain some square footage. We were hoping the chimney would be in better shape and we’d have a small section of exposed brick in our home. But no such luck. As my Dad said, these were never meant to be seen. Oh well.

Over on the kitchen side of the chase, we discovered there used to be a stove in a pink kitchen! Luckily, it’s already been sealed so one less to do.

2013-04-15 15.33.27More demolition to come. Stay tuned.


The Good Ol’ Shop

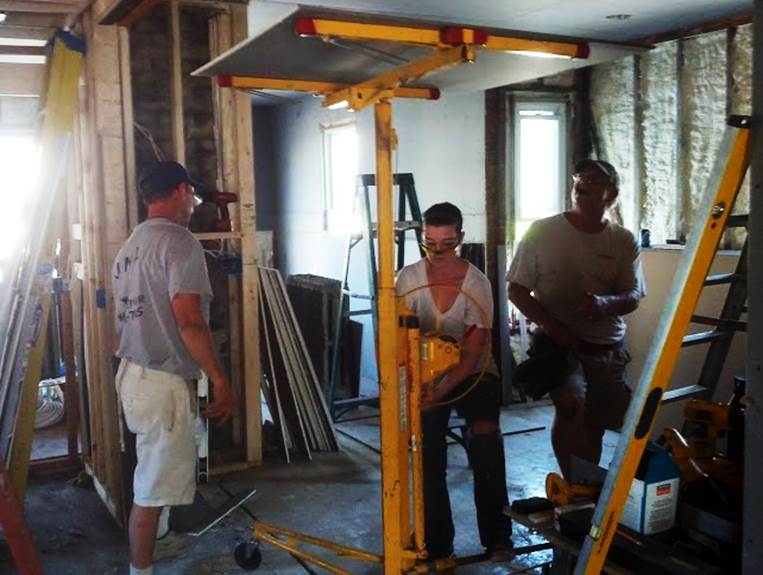
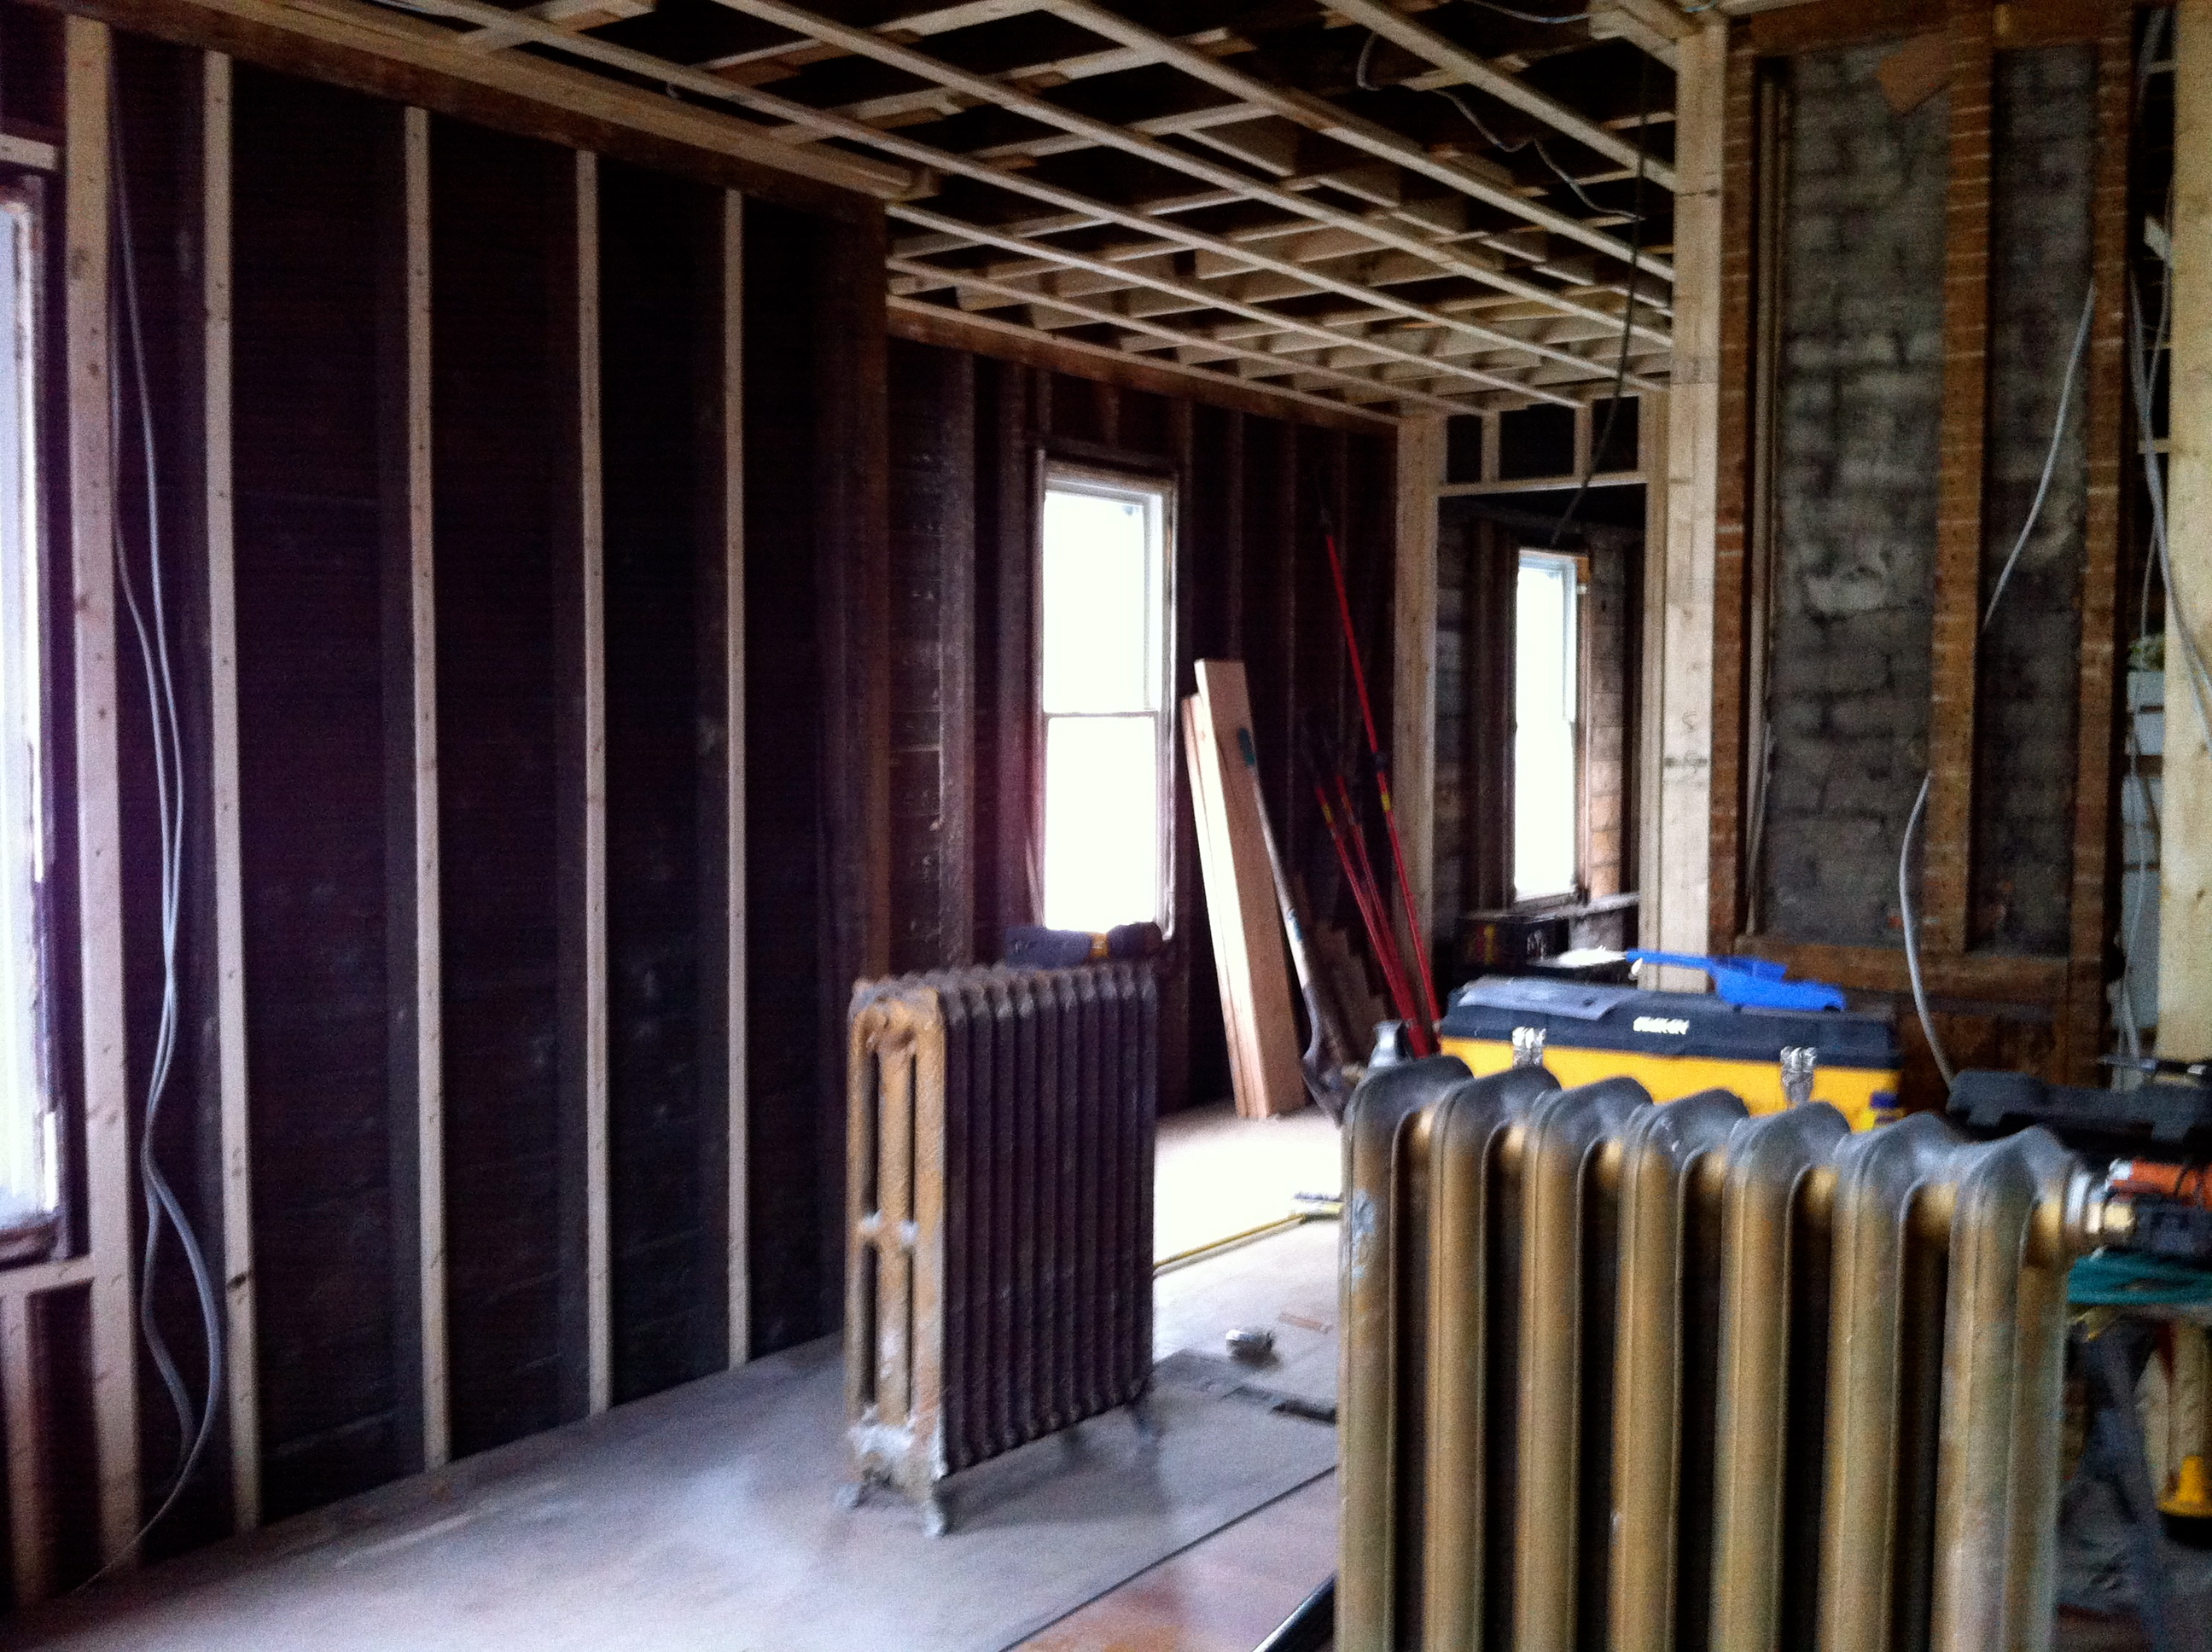
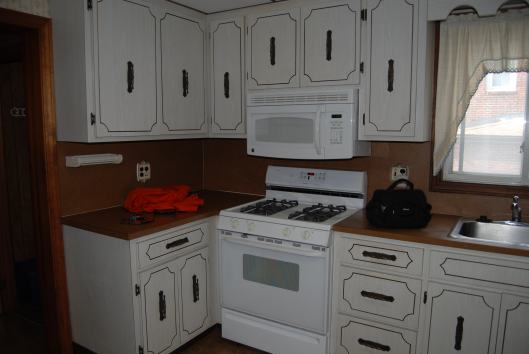
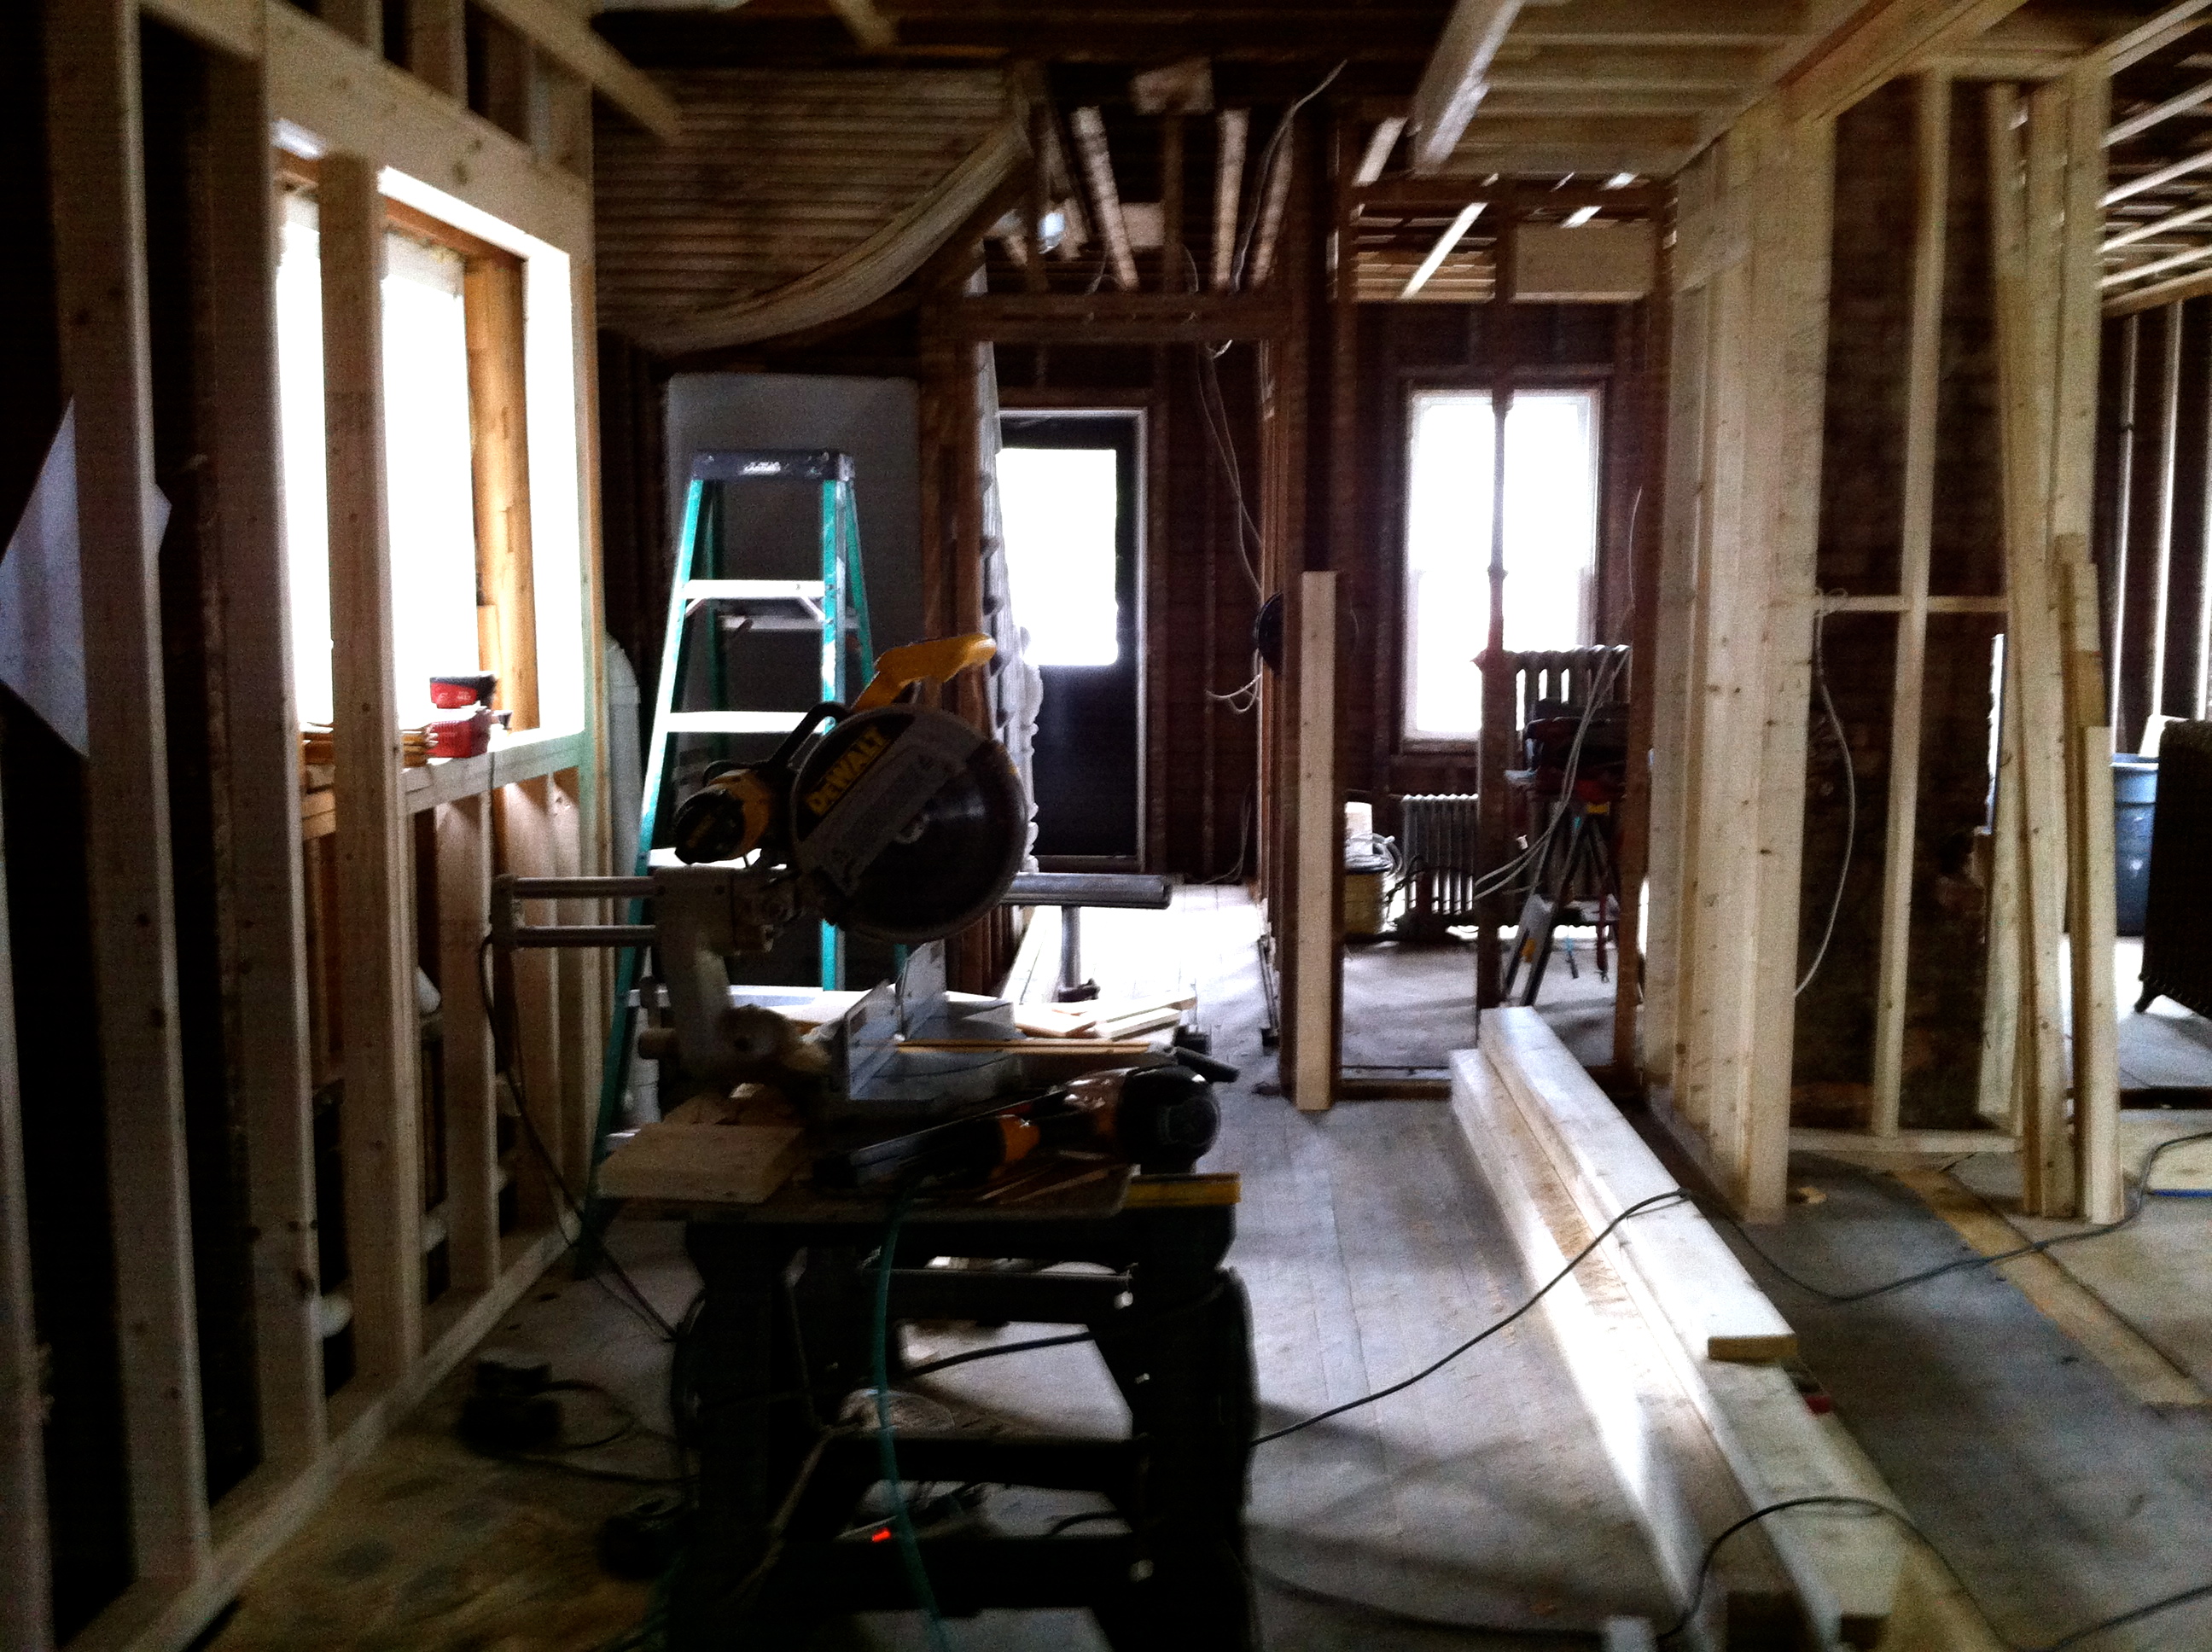
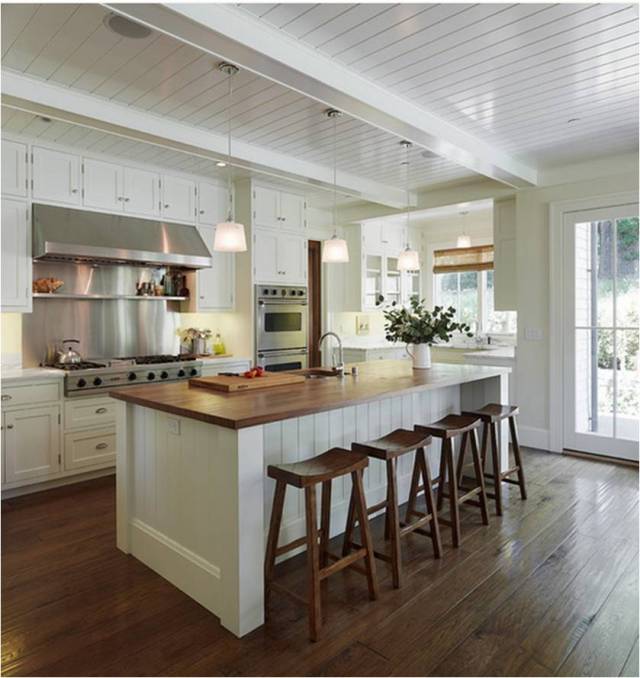
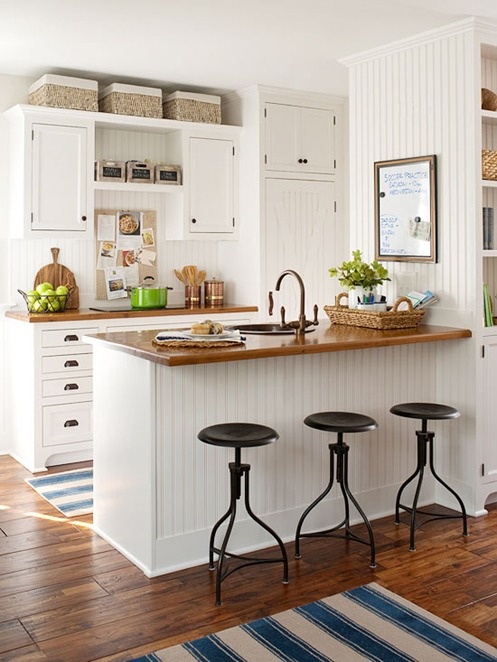
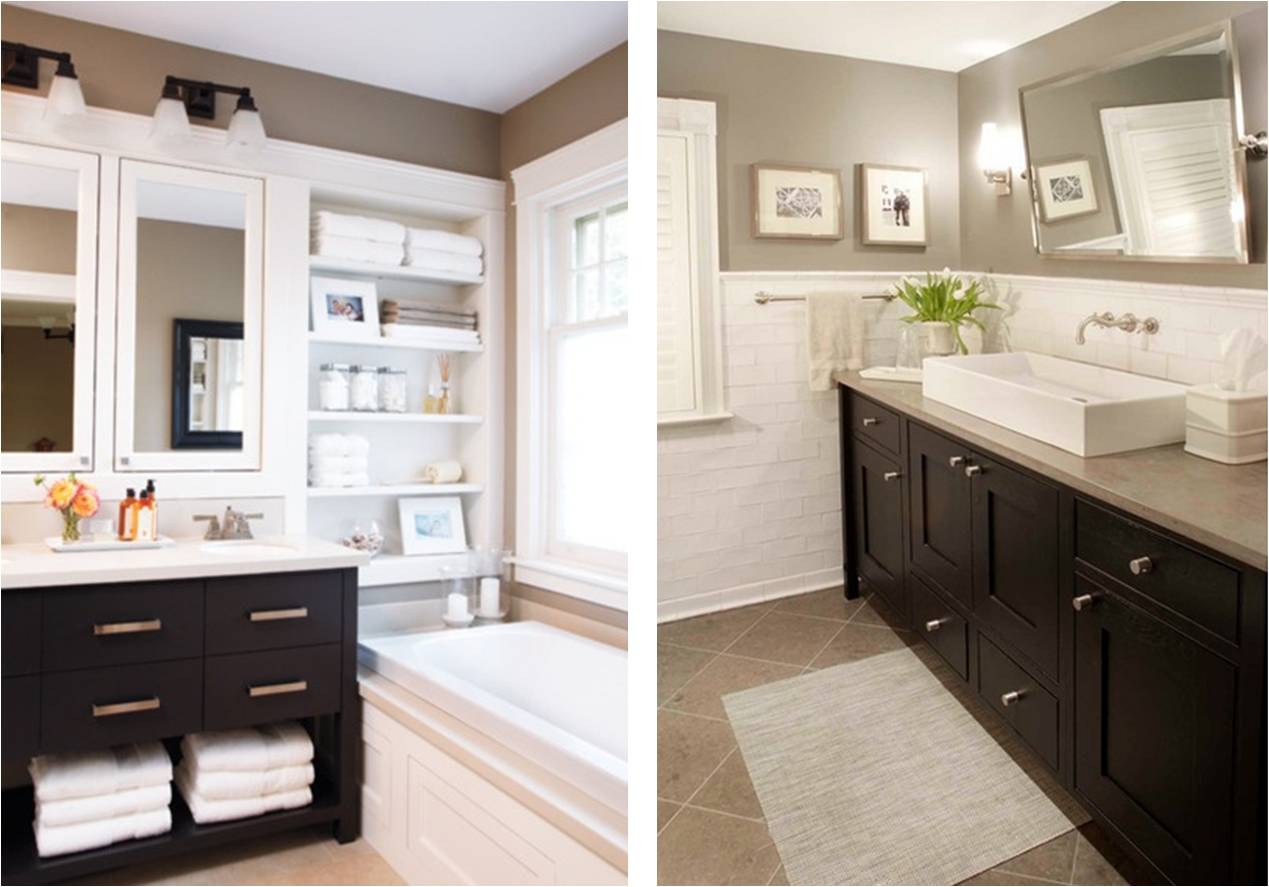
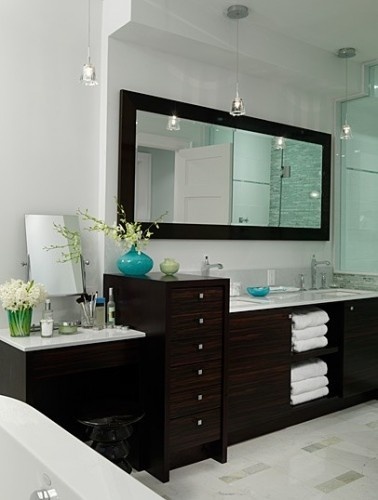
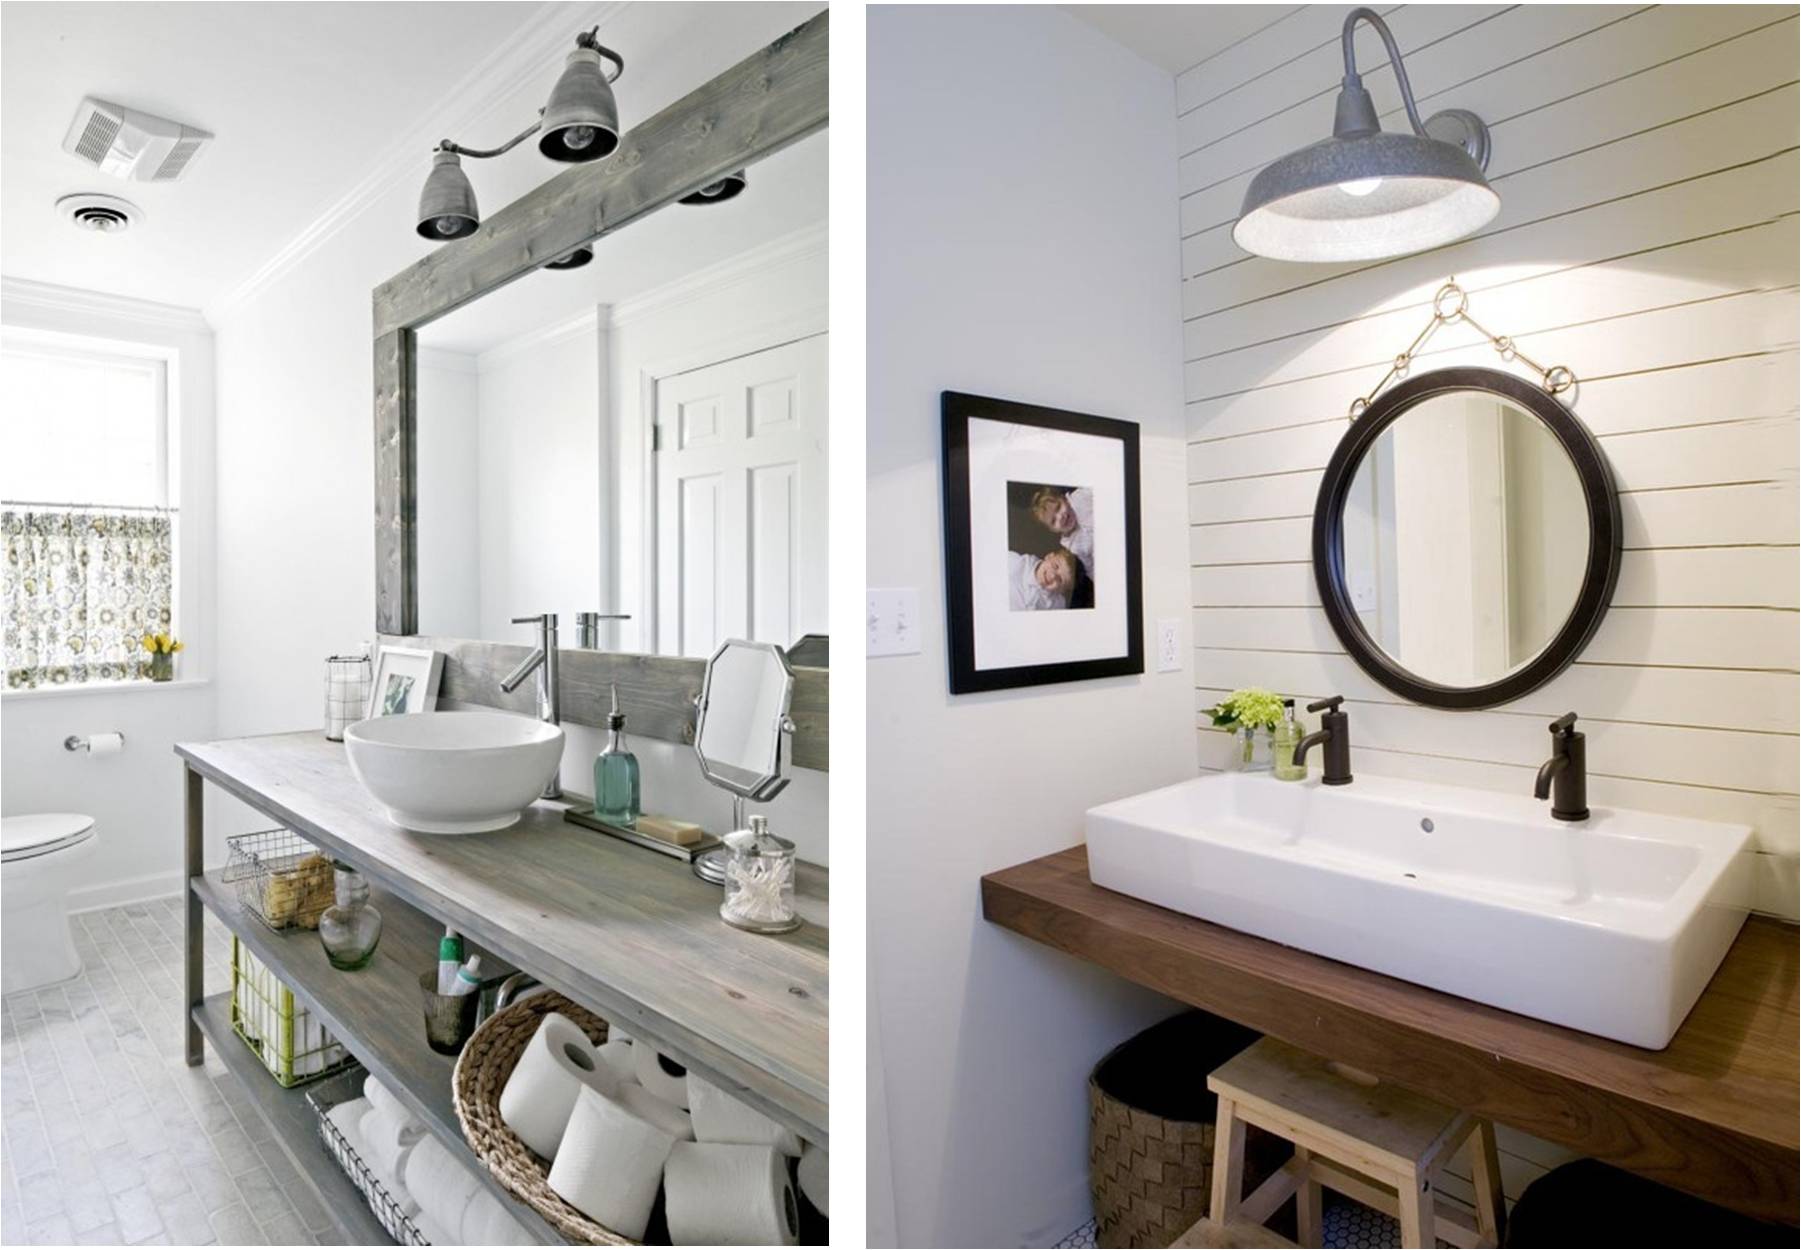
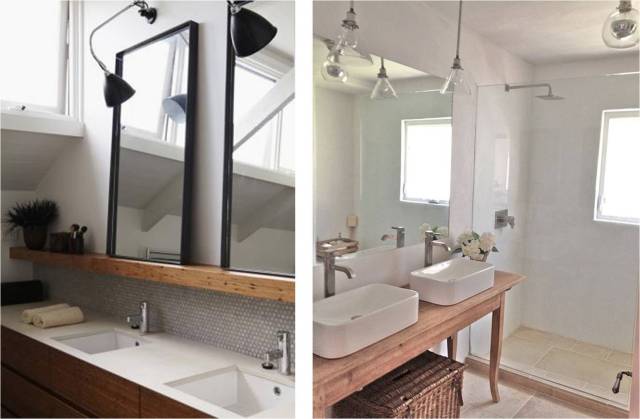
Breathe in and out. Ahhhhhh. You smell that? That’s the smell of progress my friend! Might be a little sawdust too. Jared’s become a regular regular down the shop. My Dad’s shop that is. Our contractor extraordinaire.

The Good Ol’ Shop as it’s referred to by many is an interesting place with an interesting cast of characters. With all the makings of a reality TV show that could rival Duck Dynasty.

Let me paint you a little picture. A weekend afternoon down the shop.

IMG_0662 IMG_0663 IMG_0664 IMG_0665 IMG_0666 IMG_0667
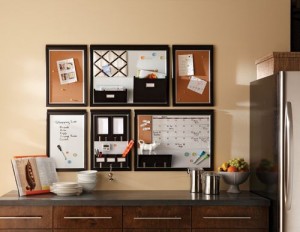
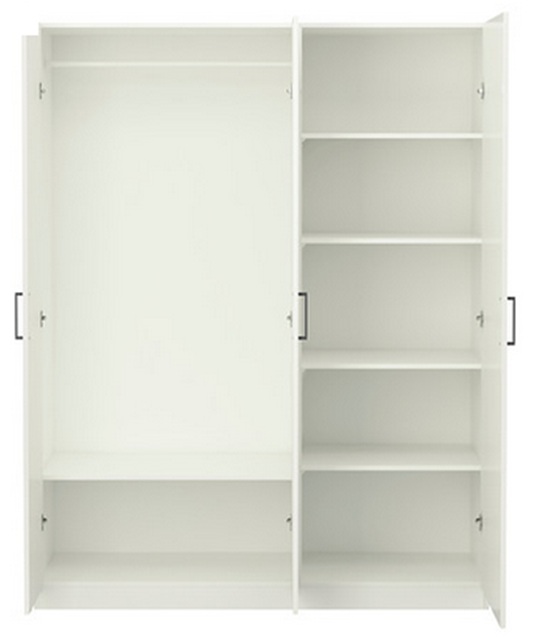
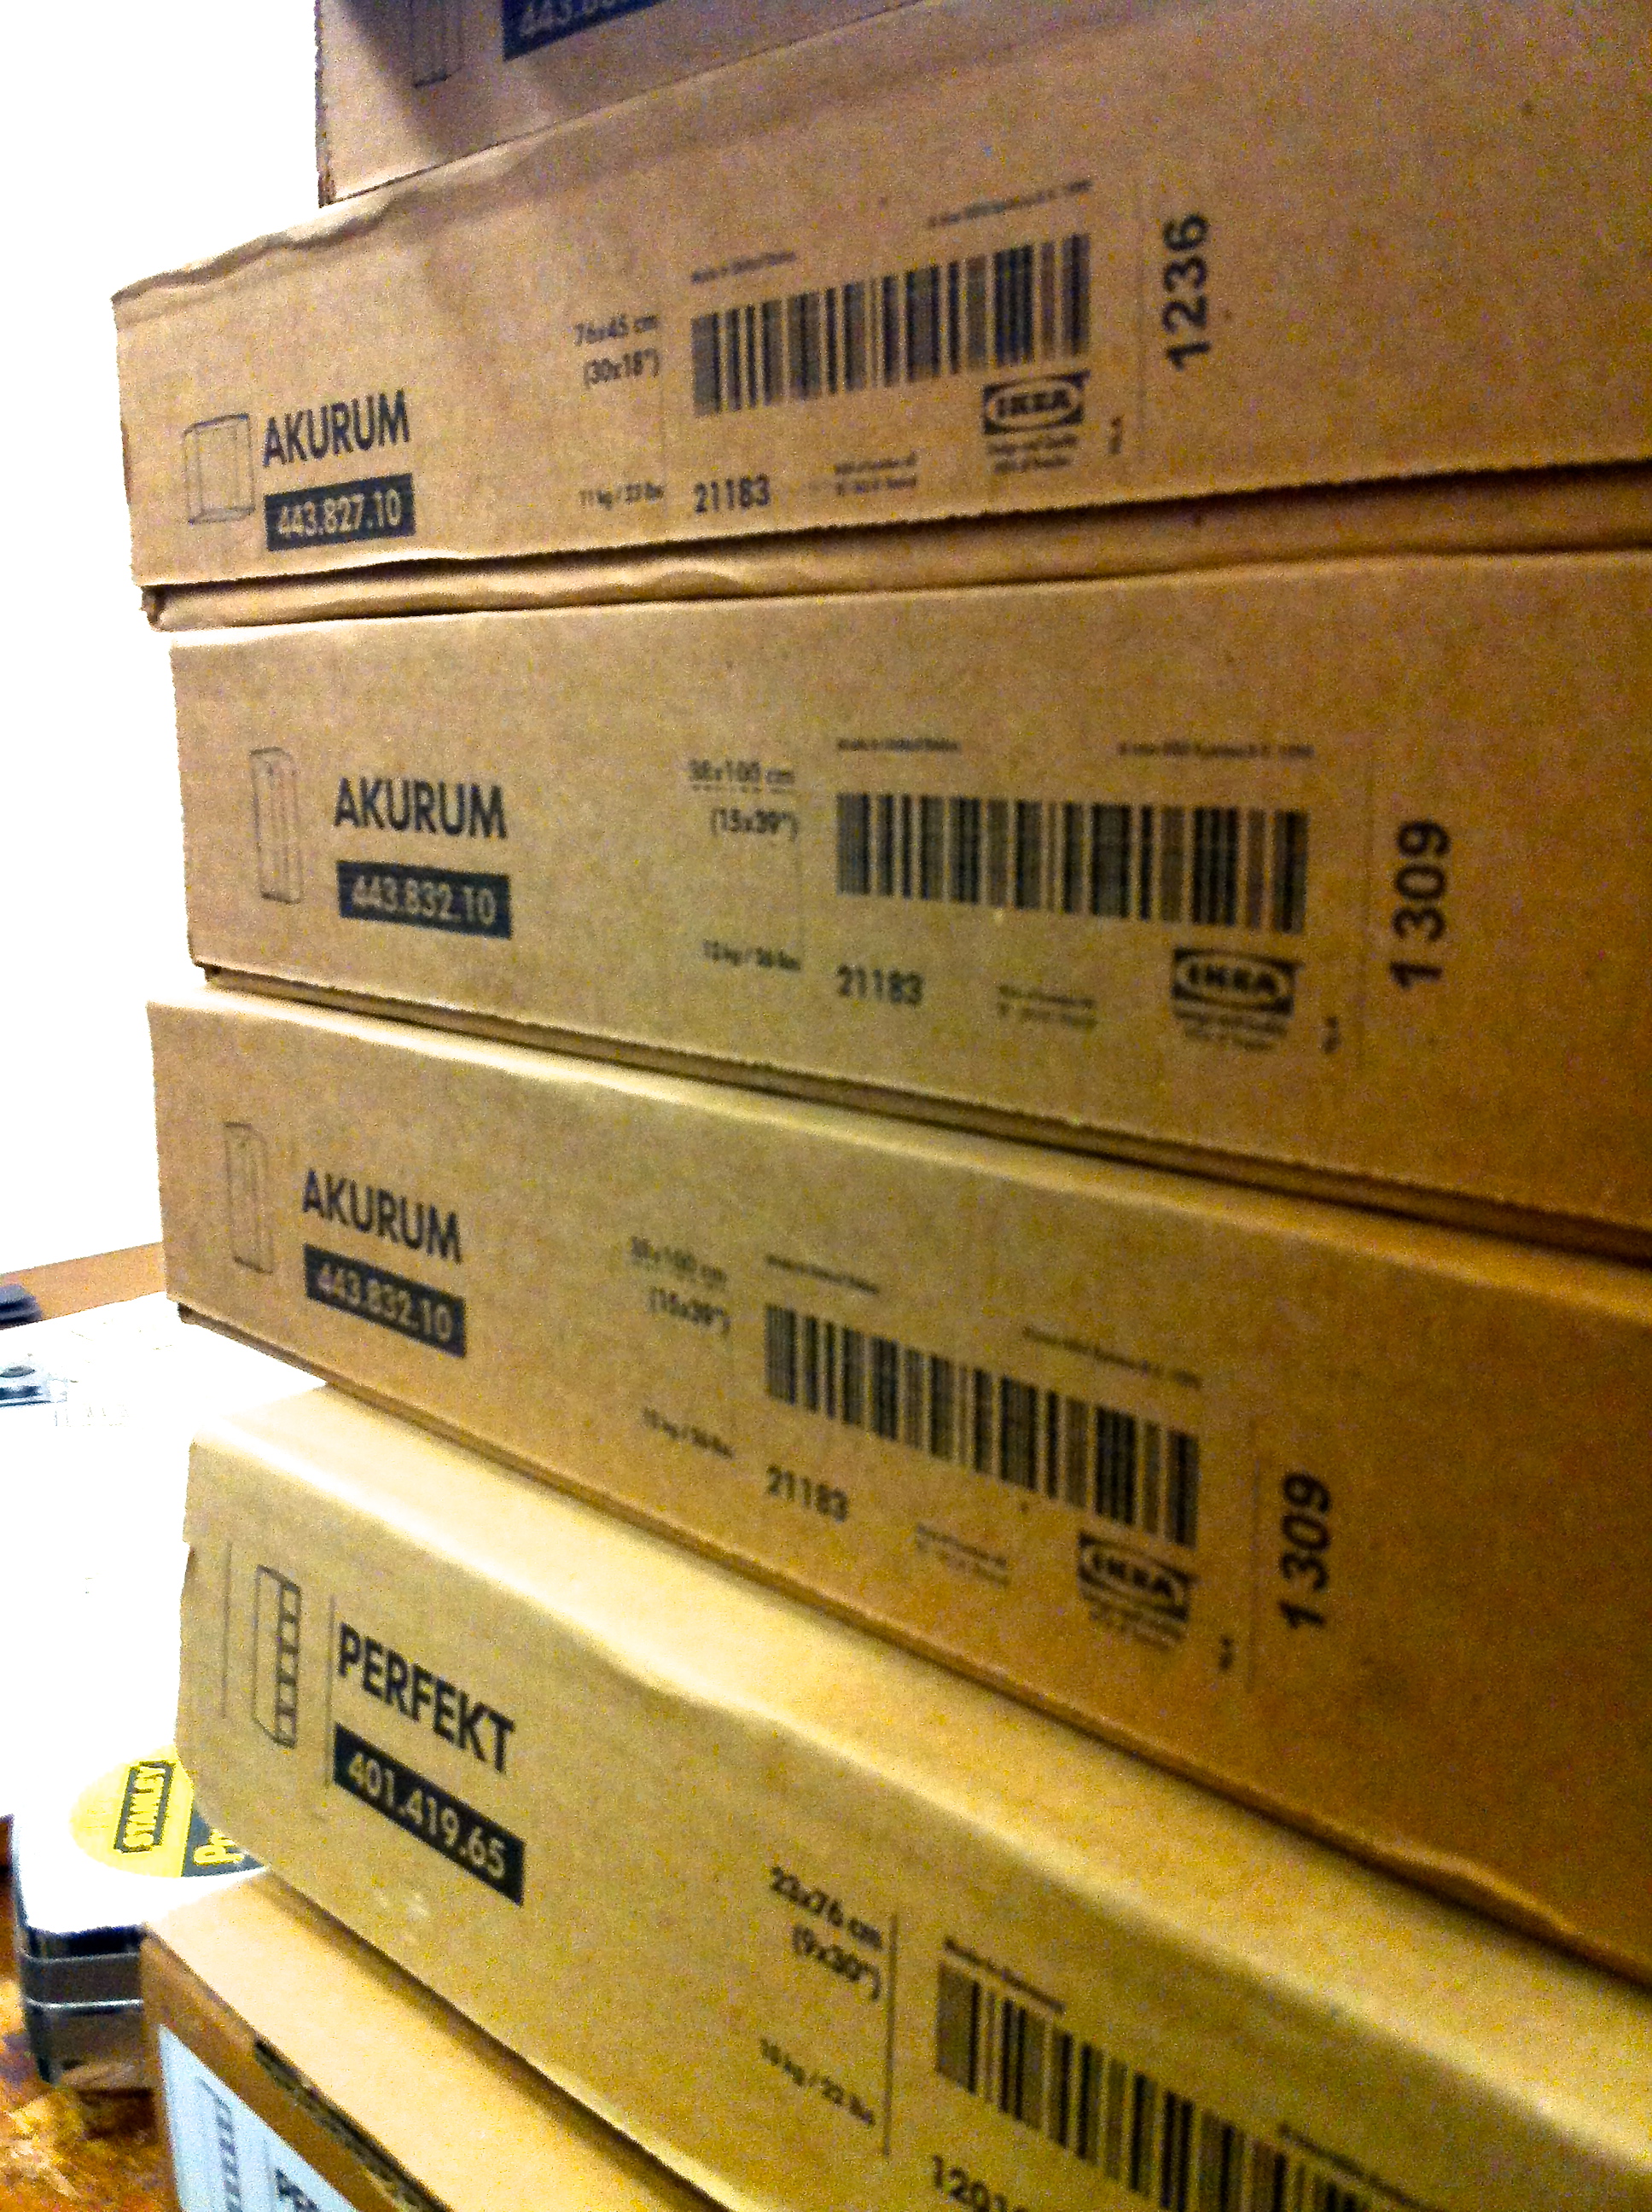
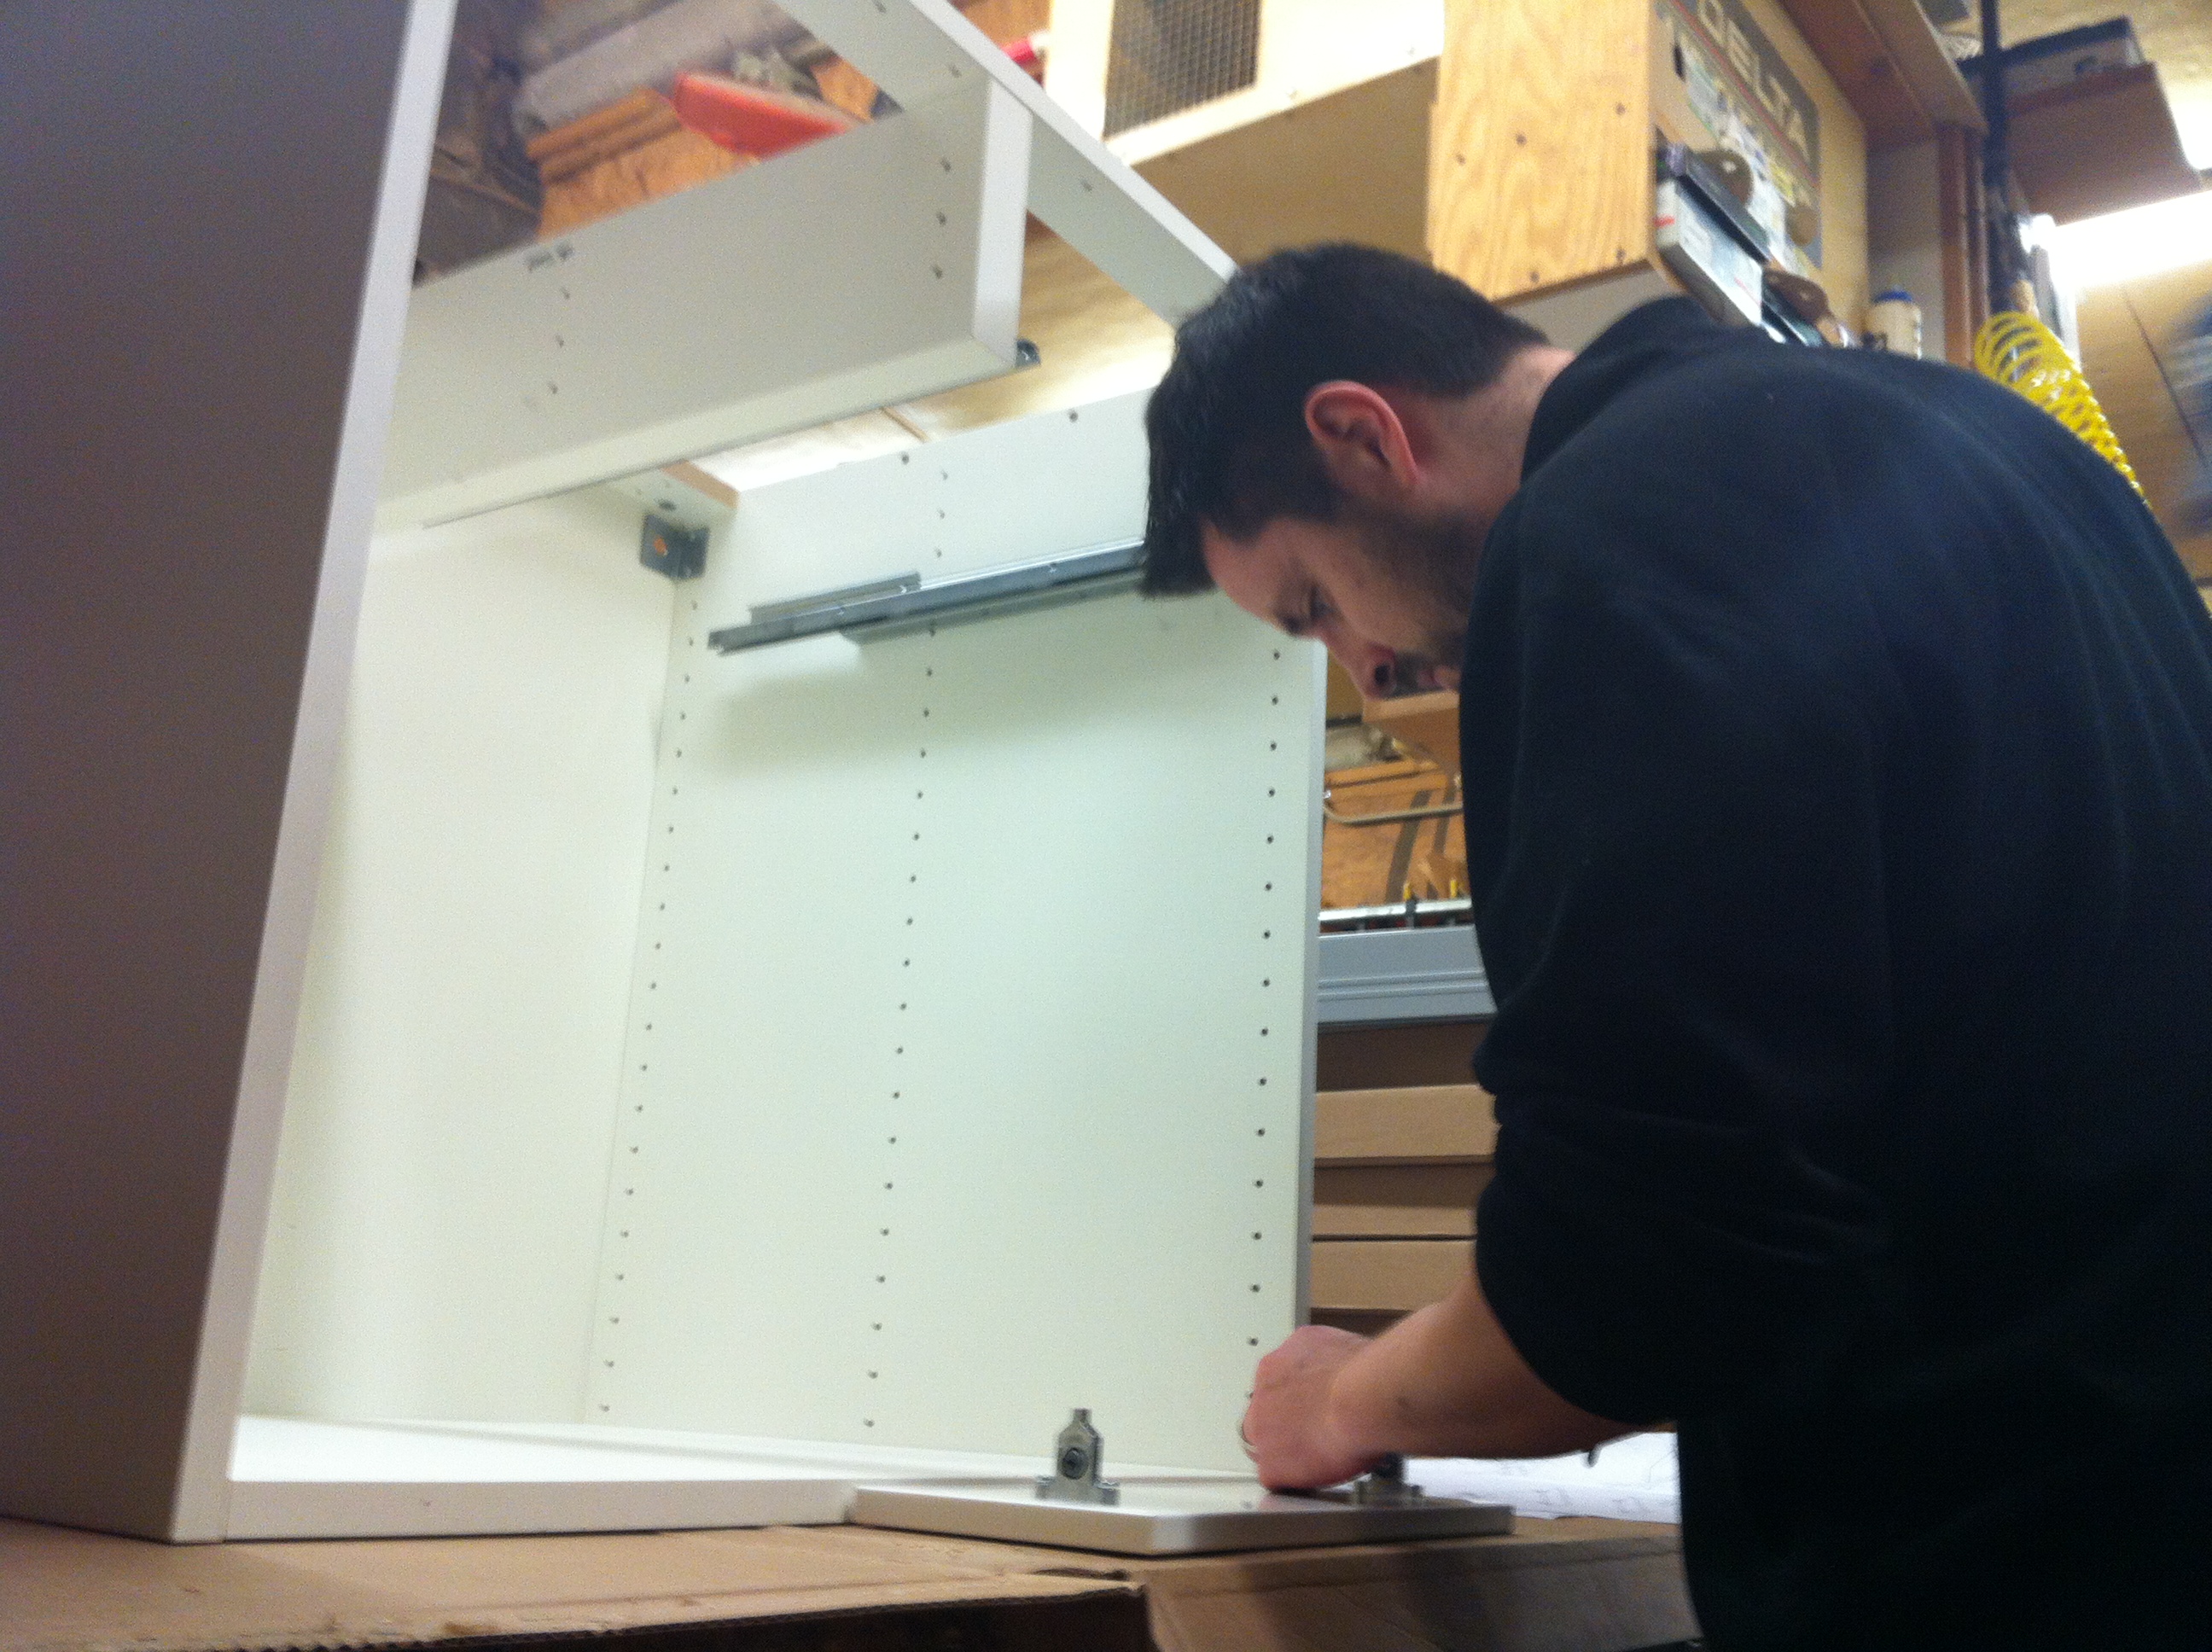
Dad: (chomping on a cigar) Let’s set you guys up with an IKEA cabinet building station.

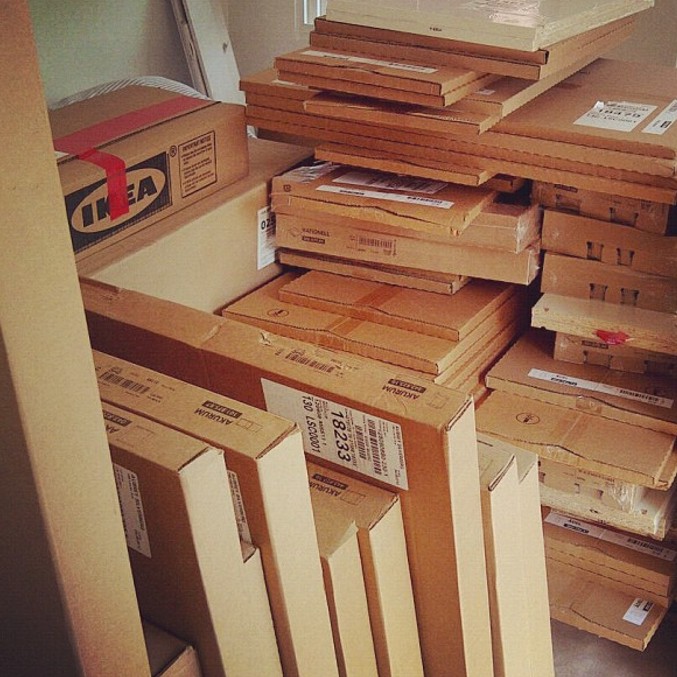
—- small projects get stashed all around the shop. giant sheets of cardboard get laid out on the workbench to protect our kitchen investment —-

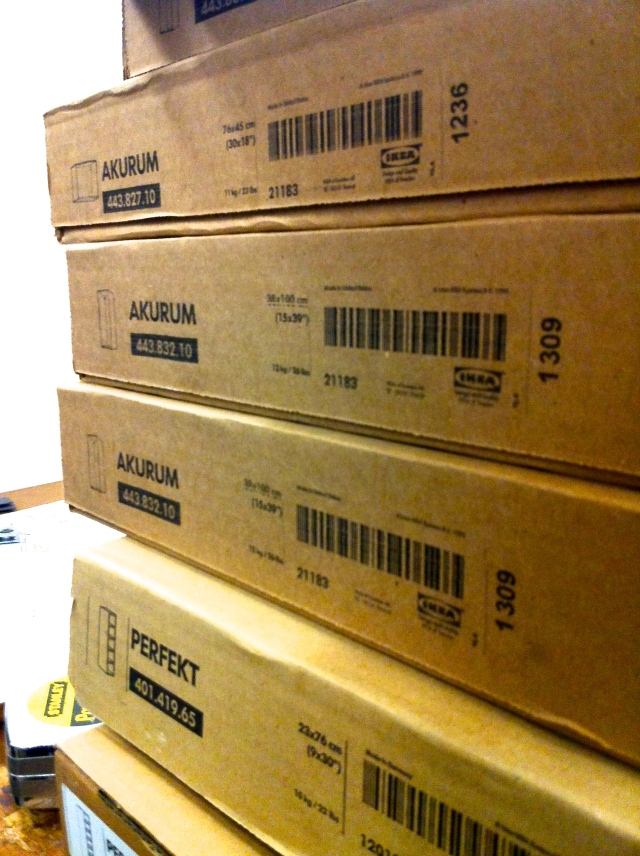
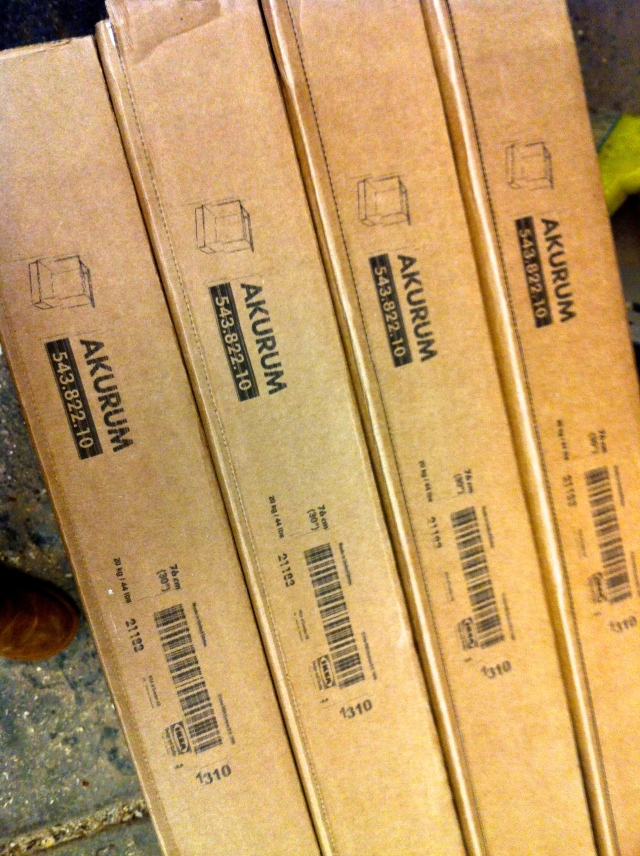
Dad: Grab a couple of those sixty-sixes! (he’s referring to the last two digits of the IKEA packaging)

IMG_0656IMG_0658-— Jared and I “get to work on those sixty-sixes” while Dad putters around, blasting country music and getting a project ready for a friend Mike coming to pick it up. —-

IMG_0661—- enter Joe. Joe lives within earshot of the shop and if Dad’s white truck is parked out front and Joe’s home, you can bet he’ll be making an appearance. —-

Dad: (in a booming voice while still munching on a stogie) JOE BA-CA-DOOO! (that’s not his name)

Joe: Hey guys. You got your IKEA! That’s awesome! You must be so stoked.

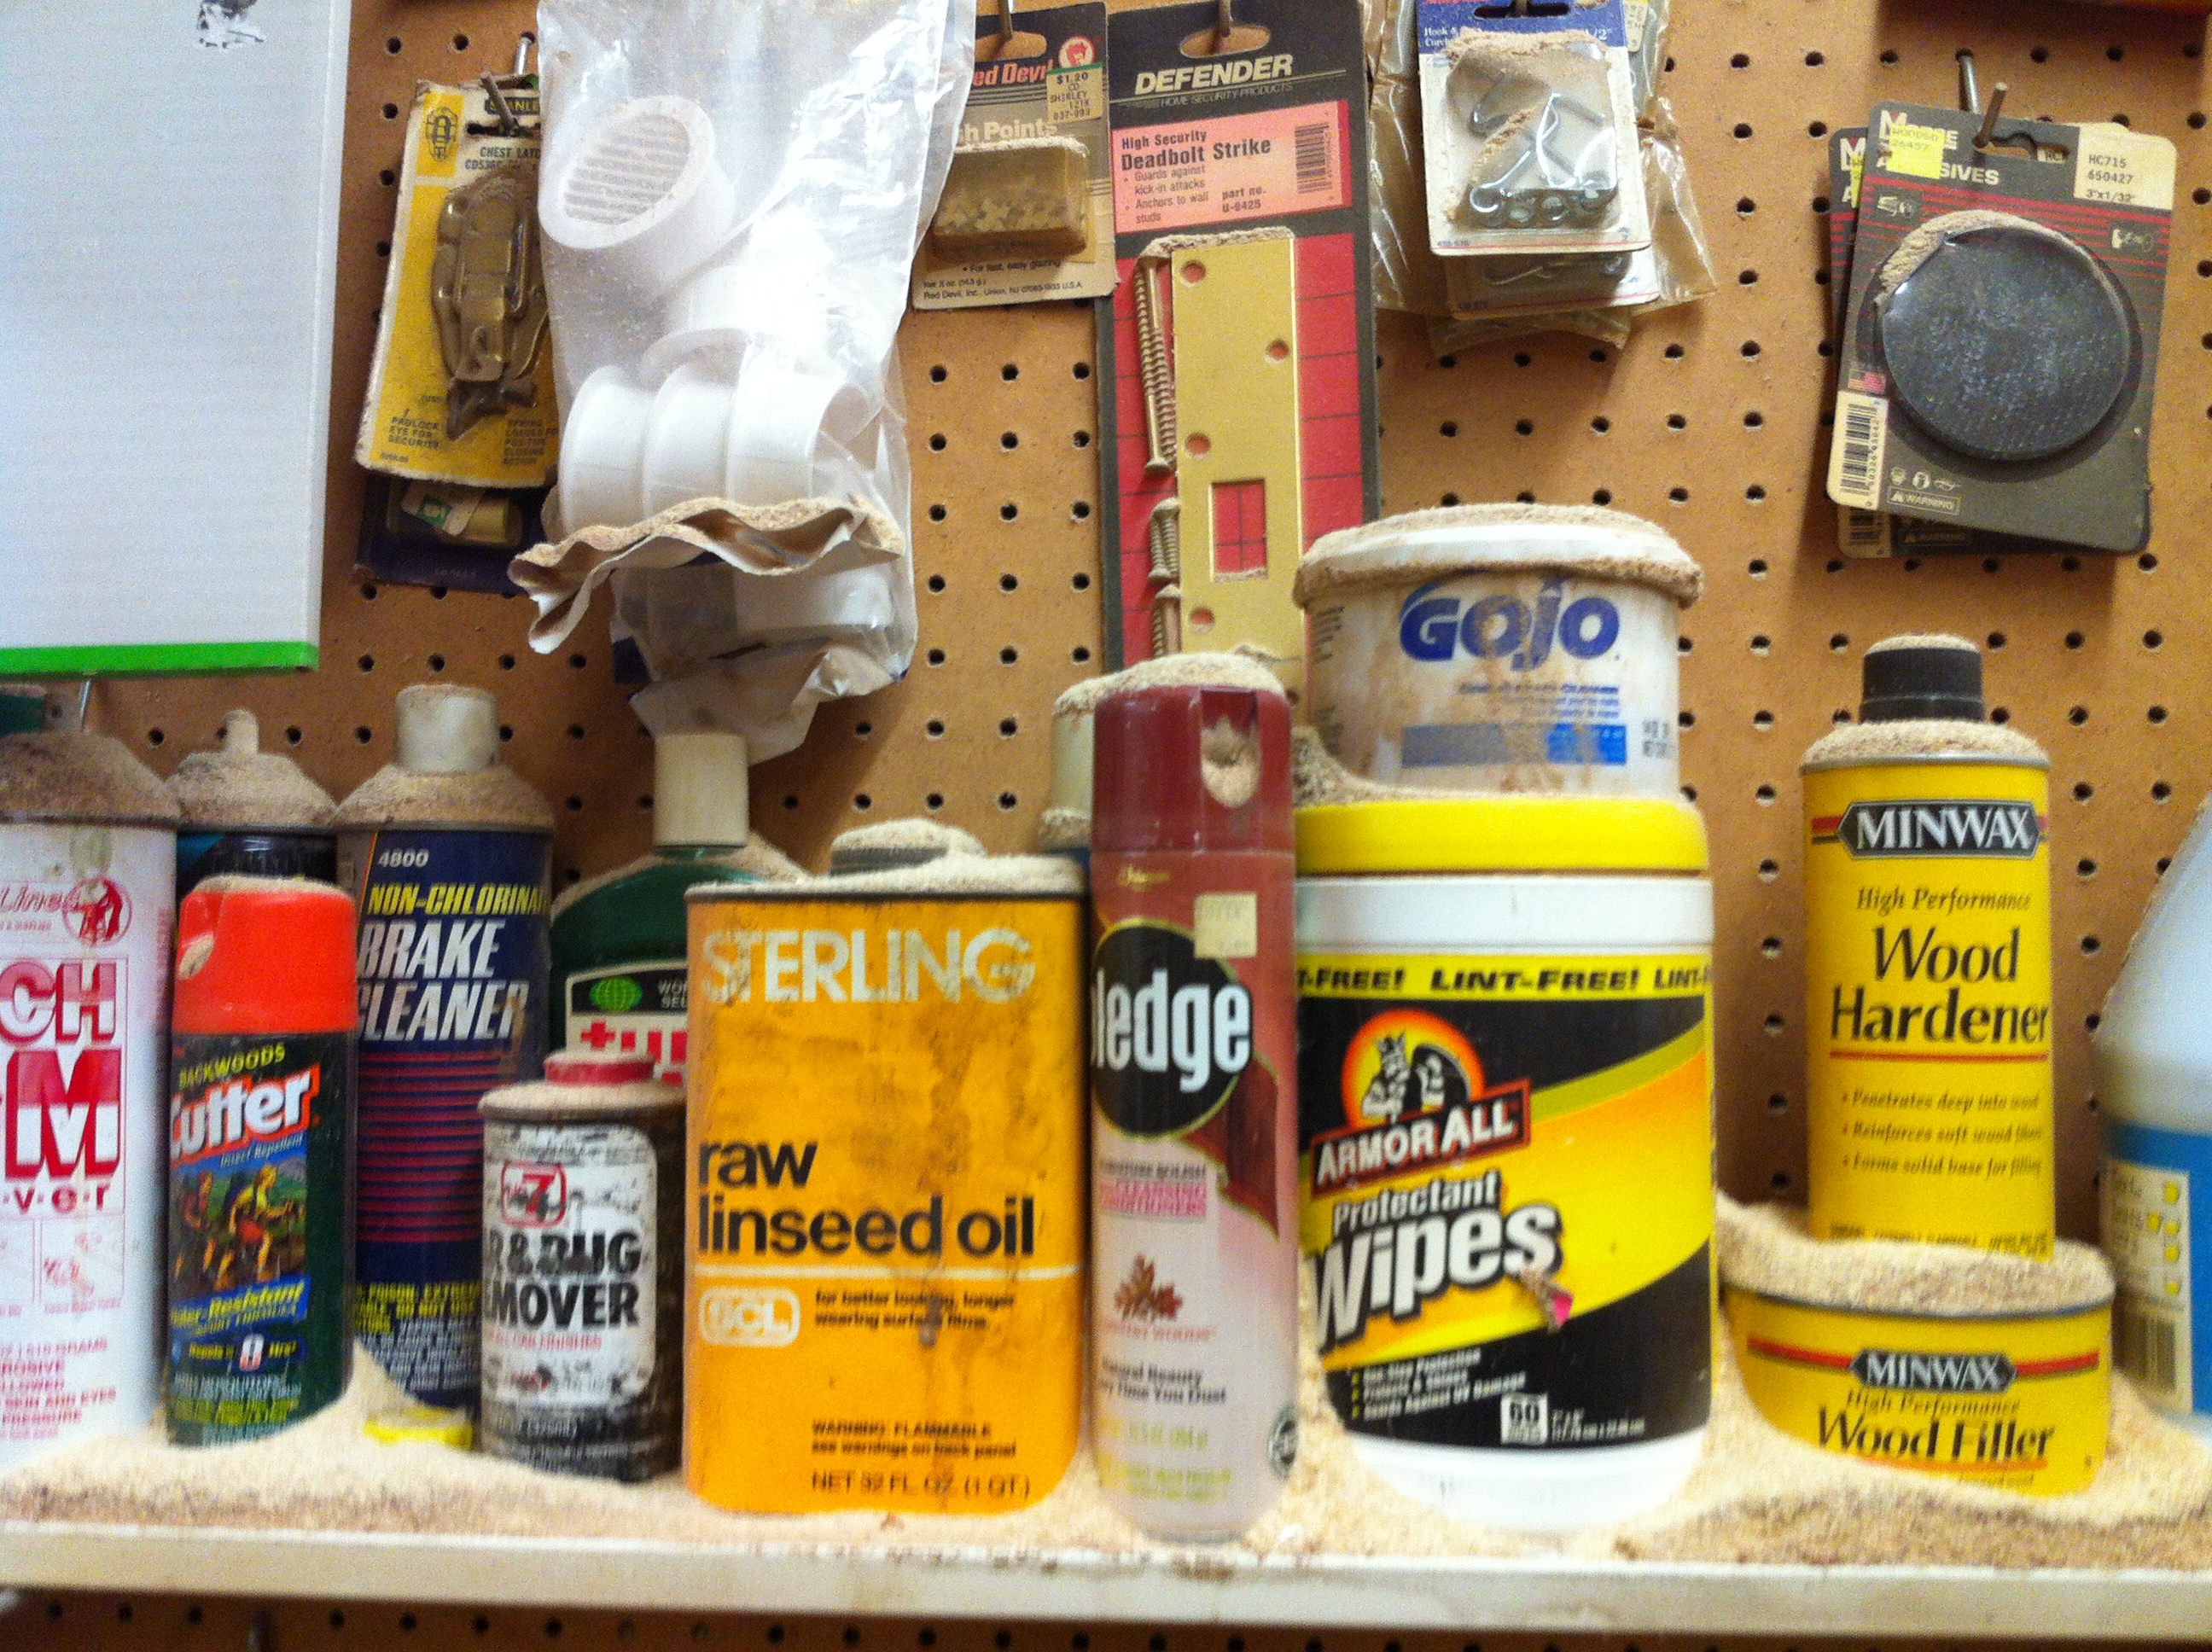
—- Joe wanders around and makes his way over to a sawdust infested area with nails and small boxes stacked on shelves. he grabs a box —-

Joe: Need like five staples!

Dad: Take the whole box Joe!

Joe: Nah nah, this is fine.

—- Joe puts row of sharp staples directly into his shirt pocket. Mike shows up to pick up the project Dad made for him. —-

Dad: Mike! You want a beer?

Mike: Sure! If you guys are!

—- that’s laughable because these guys almost always are. in fact I’m pretty sure Joe had beer in hand when he stopped by. but I’m one to talk as I sipped my Coors Light. the shop demands a cold one while you work. —-

—- Dad assists Jared and I with a tricky part of the cabinet and I overhear Joe and Mike. —-

Joe: His work is just phenomenal. I mean this is nothing! (Joe points to an intricate table with various types of striking woods) He’s so so talented.

This is the type of camaraderie that goes on here. Sure there’s a lot of cursing and spitting and whatnot but this boys club is one of the most loyal group of friends I’ve ever known. They truly appreciate one another, respect one another, and would do anything for each other.

That extends to each of their families too. Which is why I have to thank the Shop Boys in advance for all wanting to help with our renovation. Get ready to hear more from all these characters. I know I’m excited!


Our IKEA Kitchen – Part 3 of 3

For the final installment of our IKEA Kitchen blog post series (sniff, sniff, tear!) I thought I’d share some great tips from my fellow bloggers about customizing an IKEA kitchen.

Aubrey from Little House Blog really outlines the whole process. She chose the IKEA Adel style and found that Benjamin Moore Paper Mache paint was a good match for any filler or moldings. (By the way,  Benjamin Moore Simply White OC-117 is a good match for our Stat cabinets!) Aubrey contracted some of the assembling and molding work out and did some herself with her family.

She has some fantastic tips and my favorite warning image of all time: “Be prepared for your delivery to look like this…”

new-1

I would definitely read her blog if there is an IKEA kitchen in your future. The end result speaks for itself…

LHB

Then there’s Carol Reed. Carol is an interior designer with a fabulous blog (read it here). My favorite take away from Carol’s blog is this: “For anyone who has doubts about the quality of IKEA kitchens or for those who think its just not good enough for them, I have a little secret to let you in on… Designers and Architects LOVE IKEA kitchens and use them all the time.”

So hopefully that quiets the naysayers. IKEA kitchens can be gorgeous and look custom if you put in the time to design wisely, research your appliances, and choose unique extras that will make it your own. And if all else fails, just hire these guys!

Picture1

Our IKEA Kitchen – Part 2 of 3

So yesterday I spilled the beans on our appliances. We’re going with JENN-AIR.

Here’s the thing- when you have an IKEA kitchen, you can’t go cookie cutter or the whole thing falls flat. You have to put your own spin on things whether you splurge on countertops, lighting, or appliances. There has to be something that doesn’t turn your kitchen into the IKEA showroom. Take our real estate agent for example. Fantastic taste! She has a gorgeous IKEA kitchen with beautiful marble countertops and a chunky wood antique buffet as her kitchen peninsula. Nothing cookie cutter about it.

So for our splurge, we’re going with upgraded appliances. We’ve shopped around to several local appliance stores and some big chain stores. The best advice we got came from a gentleman at Baron’s Major Brands Appliances in (tax-free!) Salem, New Hampshire. (Thanks Aunt Sue for the tip about Baron’s!)

We all know you have your everyman brands like GE, Whirlpool, Kenmore, and Frigidaire. Then there’s an upgrade with Bosch and Jenn-Air. And then there’s your why-bother-unless-you-have-loads-of-dough brands like Wolf and Viking. Anyways- the advice we got from our Baron’s guy was that all those everyman brands have piece-of-$h!t dishwashers. Yup, plain and simple. You want a dishwasher that will last, that will be quiet, that won’t leave water spots or stuck on food on your dishes, you have to upgrade to the Bosch and Jenn-Air dishwashers of the world.

And the more reviews we read, the more we believe him. Plus, the Jenn-Air fridge and stove were sexy as hell. Yeah, I said it. Sexy! Tell me they’re not…

jennair