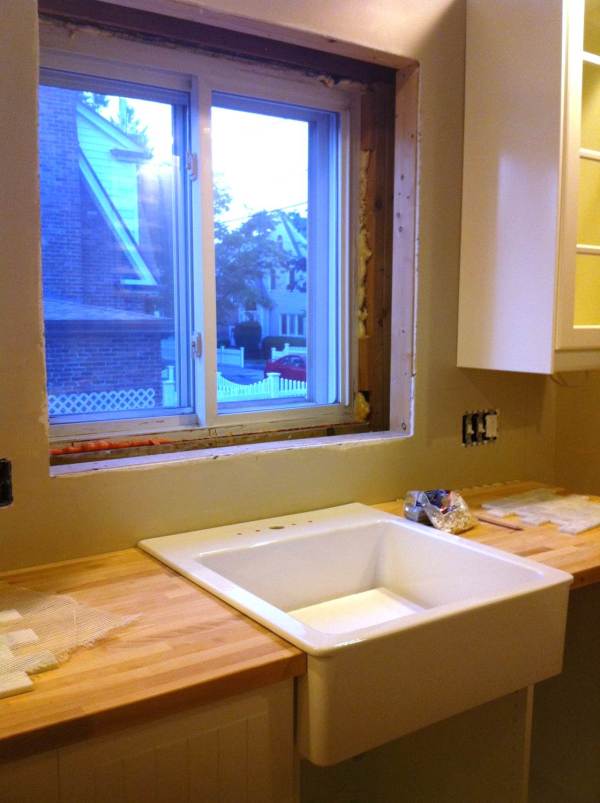
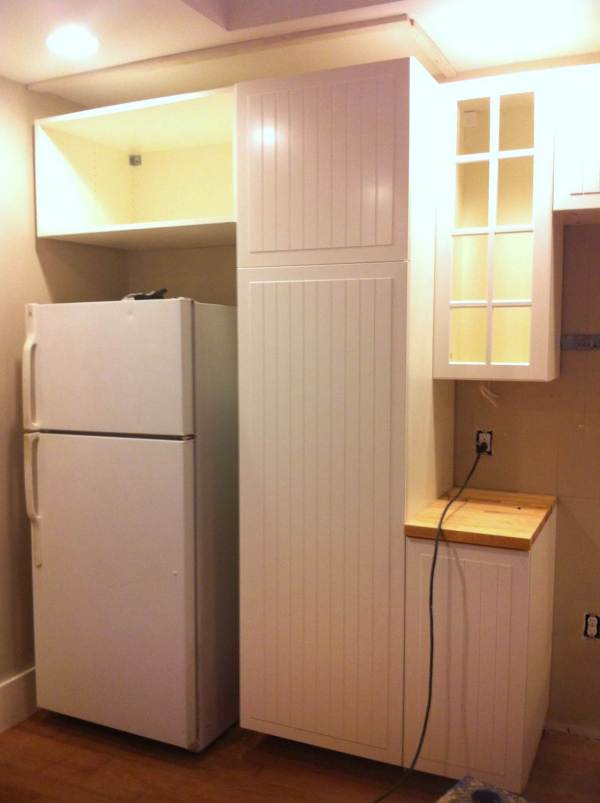
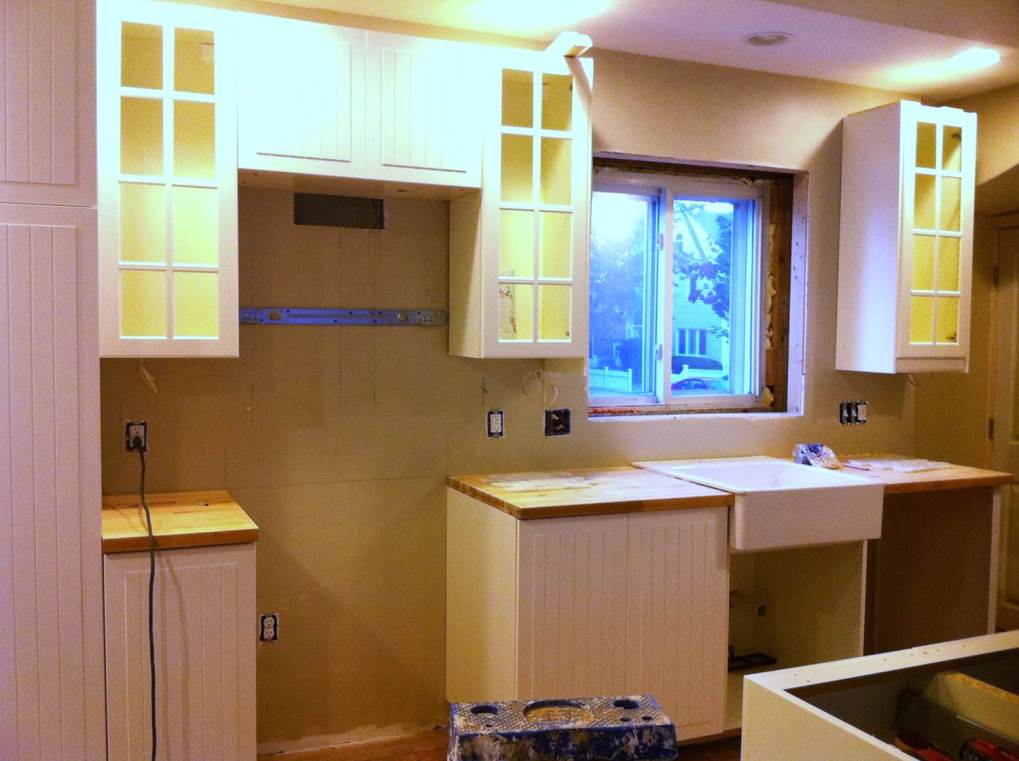
After much debate, we decided on IKEA’s NUMERÄR oak countertops for our new kitchen. I think it’s the best budget and design choice and honestly, I’m not worried about performance because I’m the biggest neat freak I know and go out of my way to maintain my things.
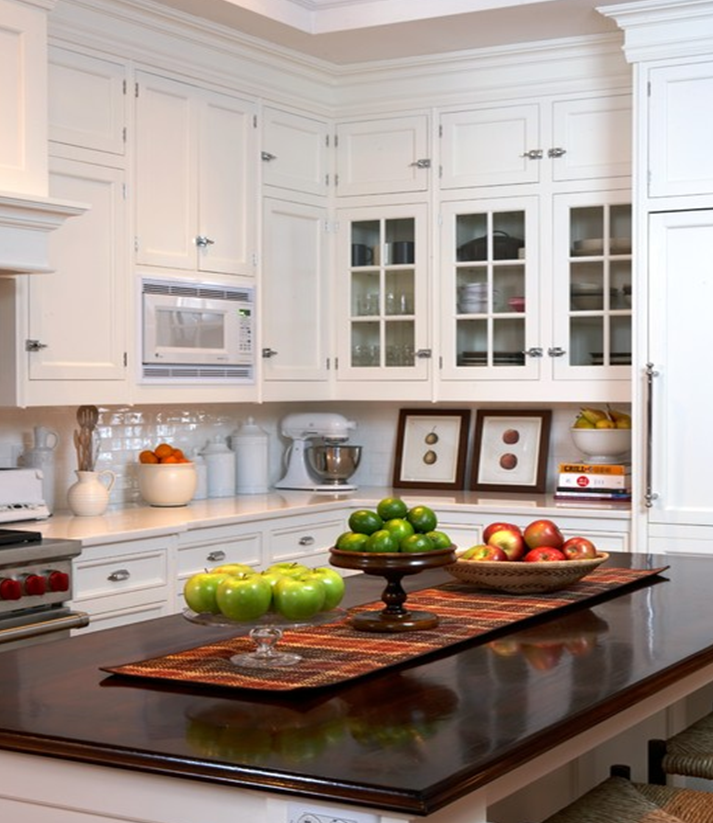
The warm wood tone will really warm up the high gloss white IKEA cabinets. Remember, this house is over 100 years old. The last thing I want is an obviously modern kitchen. But rather, an efficient kitchen with nods to the house’s history and character.
With our decision made and the countertops cut, we’ve done a TON of research on treating the wood. I was nervous about leaving the oak it’s natural color. It’s pretty light and I wanted a nice contrast with our white cabinets and a compliment to our darker wood floors. Thanks to the plethora of DIY bloggers, I was able to compile three viable options:
Number 1, we could do absolutely nothing but a mineral oil treatment. Mineral oil is a colorless, odorless mixture. Essentially it’s baby oil without the perfumes. Bloggers recommend the treatment nightly for the first week, then 2-3 times per week for the first month after instillation to get a good moisture/stain barrier in place. And finally, re-oil as needed but typically every 1-3 months depending on usage and humidity. The benefit to this is it’s food safe and water resistant and seems relatively easy to maintain. And the best part is if there is a mark on your counters from a scratch or a pen mark, you just sand the spot down and re-oil. Simple as that.
The second option was for those worried about water damage. A product called Waterlox could be applied to the counters for a permanent water tight seal. However, bloggers did warn of a yellowy hue.
The third option would definitely give us the color we were looking for and seal the counters water tight. If we applied a stain to the wood and sealed with Waterlox, the counters would look more like a piece of furniture though they would definitely be waterproof. This one is tempting since I am nervous about the color. However, I’m more nervous about the finish. I don’t want our countertops to look like a piece of shiny furniture. I want them usable and durable and natural.
Soooooo… option one it is! Dana from the blog House Tweaking gives a fantastic step by step process of her oiling routine. I especially love her kit that she’s assembled. When I know I have the right tools and tested instructions, I know I can handle this!
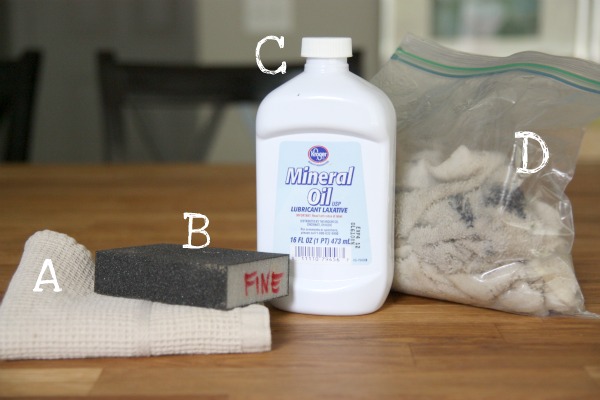 Dana uses…
A: Clean Damp Rag
B: Sanding Block
C: Mineral Oil
D: Re-Usable Oiling Rags
After making sure the countertops are void of all dirt, dust, or crumbs, she wipes it down with the clean damp rag. Once dry, a drizzle of mineral oil gets rubbed in with the oiling rags in the direction of the wood grain. After the oil penetrates the wood, there may be some excess to wipe away but especially during the first month, the wood will really soak up the oil.
There have also been a lot of reports of the oil darkening the wood slightly so all in all, I’m secure in our decision. Stay tuned for the countertop reveal!
Like this:
Like Loading...


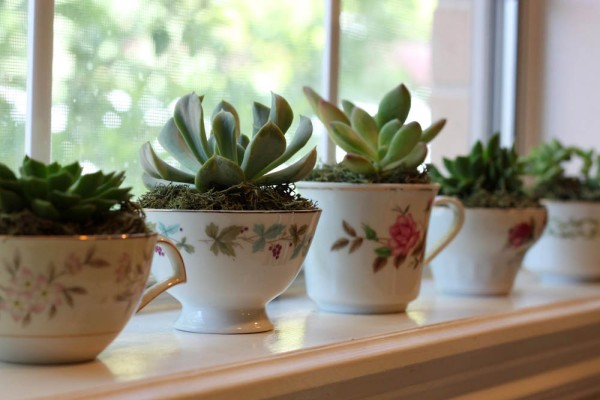
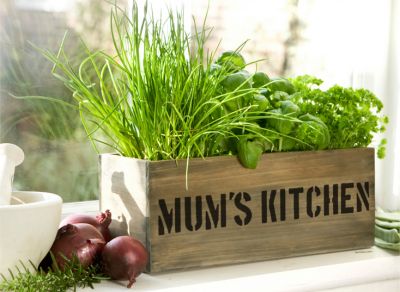
 HERBS OR SUCCULENTS